Run samples on Ubuntu
Providing detailed information on how to install and get Ubuntu OS running is beyond scope of this article. However, to get us to the same starting point, the article will start by creating an Ubuntu OS based virtual machine from Winodws 11 OS. If you already have a computer with Ubuntu OS installed, you may skip this part.
The article also assumees you have Hyper-V installed. If you don’t read this article on Microsoft web site first.
Create Ubuntu v. 22.04 OS virtual machine
- On your Windows 11 OS PC, click start and type
hyper-v quick create. - Select Ubuntu 22.04 LTS OS from the menu on the left. Click on blue Creaet Virtual Machine button.
- When download finishes, click “Connect” button, then “Start” button.
- Perform quick setup of the OS. Choose language (English is recommended, if you want to follow this guide). Choose your keyboard layout, your timezone, user name, hostname and password.
For the sake of this guide, we will assume, that your username isdeveloper, password isdeveloper, computer’s hostname isdeveloper-VM. - It is also recommended (for the sake of virtual machine) to choose automatic login.
- If you are getting logged out (likely), then in the menu of Hyper-V, click View, then uncheck Enhanced Session.
Tip:You may want to increase resolution of your Ubuntu desktkop. Right-click desktop → Display Settings. Change Resolution to desired size. Click Apply button.
Install Mono Runtime
- Click “Show Applications” (bottom left corner) → Terminal
- Install net-tools and open-ssh server
sudo apt-get install net-tools sudo apt-get install -y openssh-server - Edit
/etc/ssh/ssh_configfile with your favourite text file editor. - Save and exit.
- Restart ssh server:
sudo systemctl restart ssh - Install Mono Runtime
sudo apt install mono-runtime libmono-system-windows-forms4.0-cil libmono-system-data-datasetextensions4.0-cil - Type “Y”, if prompted.
- Install applications to build libraries from C/C++ code:
sudo apt install git gcc make
Build native Bee Mobile Keyboard library
To run applications which make use of Bee Mobile on-screen Keyboard component, it is necessary to compile and build a C language library (native compilation). To do that, we have to install: git, make and gcc. Perform these commmands in terminal.
- Download source code for Bee Mobile Linux Keyboard Library:
cd ~ git clone -b VirtualKeyboard https://git.beemobile4.net/git/Yocto bmkbd cd bmkbd - Build it. Depending on your processor architecture, use one of these commands:
make X64make X86make arm32make arm64
Give current user access to /dev/uinput
/dev/uinput is a special file, which represents a virtual keyboard. If you want to make use of Bee Mobile on-screen keyboard component, make sure the user, who will be executing your application, has access to it. By default, uinput is part of Ubuntu kernel. If it is not in your case, make sure to use Ubuntu OS with uinput being either part of its kernel or at least, that it is a loadable module. In latter case, make sure it is loaded. Details are outside of scope of this guide.
Execute this sequence of commands:
- Create a group
sudo groupadd uinput - Add your user
sudo usermod -aG uinput developer
Install VSMonoDebugger extension to your Visual Studio
- In your Visual Studio, click Extensions → Manage Extensions …
- Click Browse tab.
- Type VSMonoDebugger into search field.
- An extension named
VSMonoDebugger2022should be found. Here’s a link to the extension on GitHub.
Once installed, the extension will create submenu items directly under Extensions menu according to this screenshot:
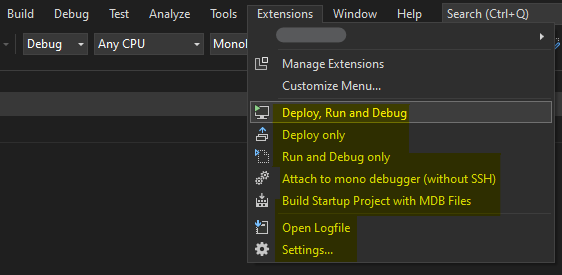
This is not ideal. You may want to use Extensions → Customize Menu … feature of Visual Studio to group all the newly added menu items under, say MonoDebugger menu item.
The result may look like this:
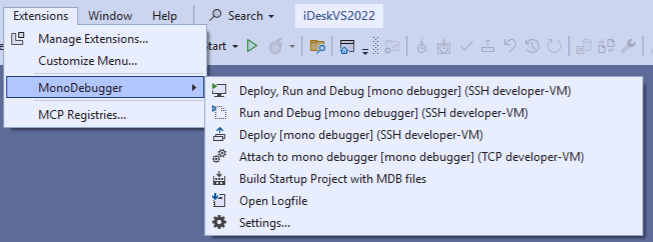
Upload sample project to your Ubuntu OS
- Once you have the VSMonoDebugger2022 extension installed, deploying, running and debugging your application is quite straightforward. Go to Extension → MonoDebugger → Settings…
- Fill out the necessary settings. Detailed description can be found directly on the website of the extenion here.
- Then, simply from the Extension → MonoDebugger menu, choose what you want to do: deploy, run and debug or deploy, run and debug.
If you are experiencing issue while using this extension, which is described here, then download the extension from this link. It is the updated (fixed) extension.
Bee Mobile Keyboard library for Linux OS
Last, but not least. If your application uses BeeMobile.Keyboard.NET48 assembly, then this assembly requires a native build of bmkbd_%.so library to run. Refer to this section where we built the library. Before executing your application, make sure, the resulting native (bmkbd_%.so) library is in the folder of your application.
Result
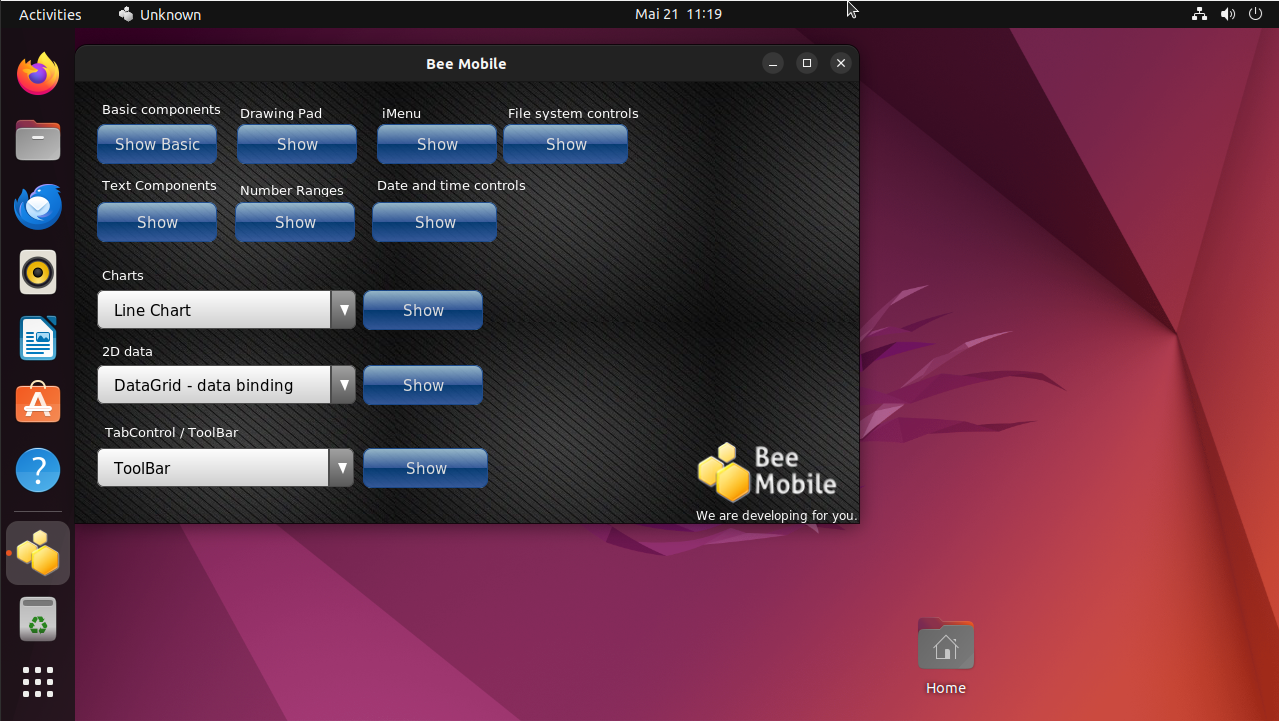
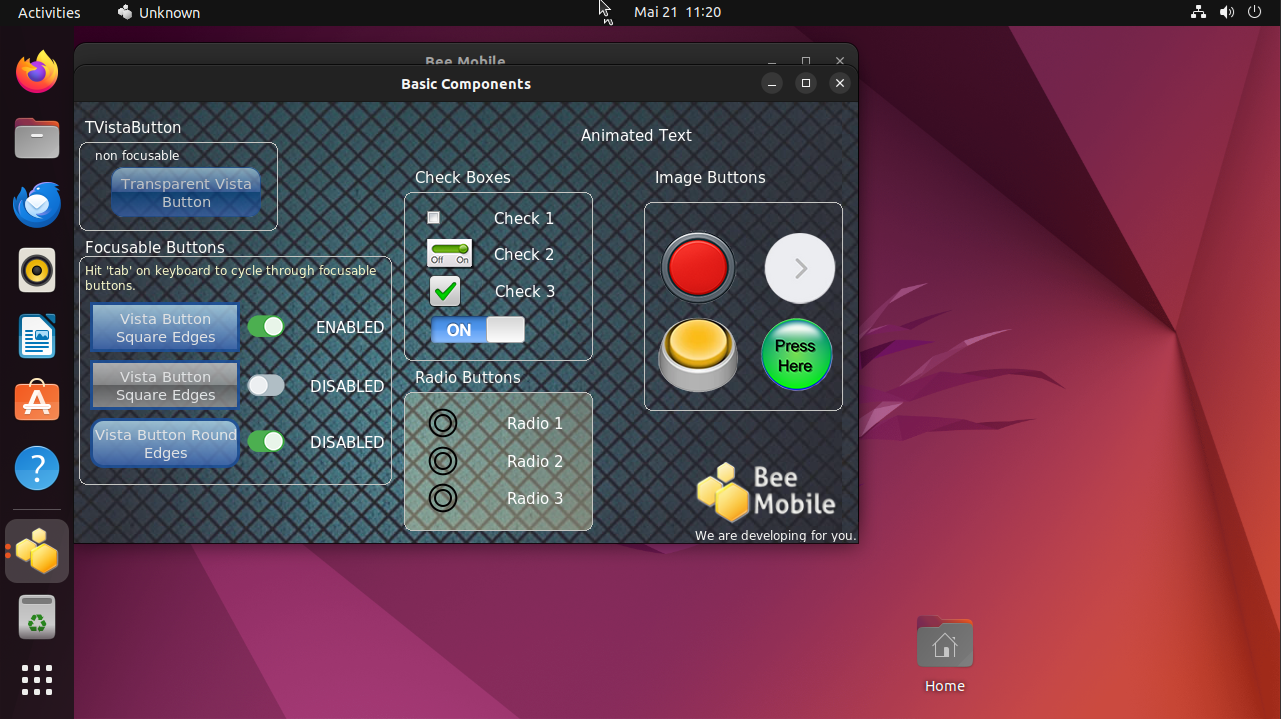
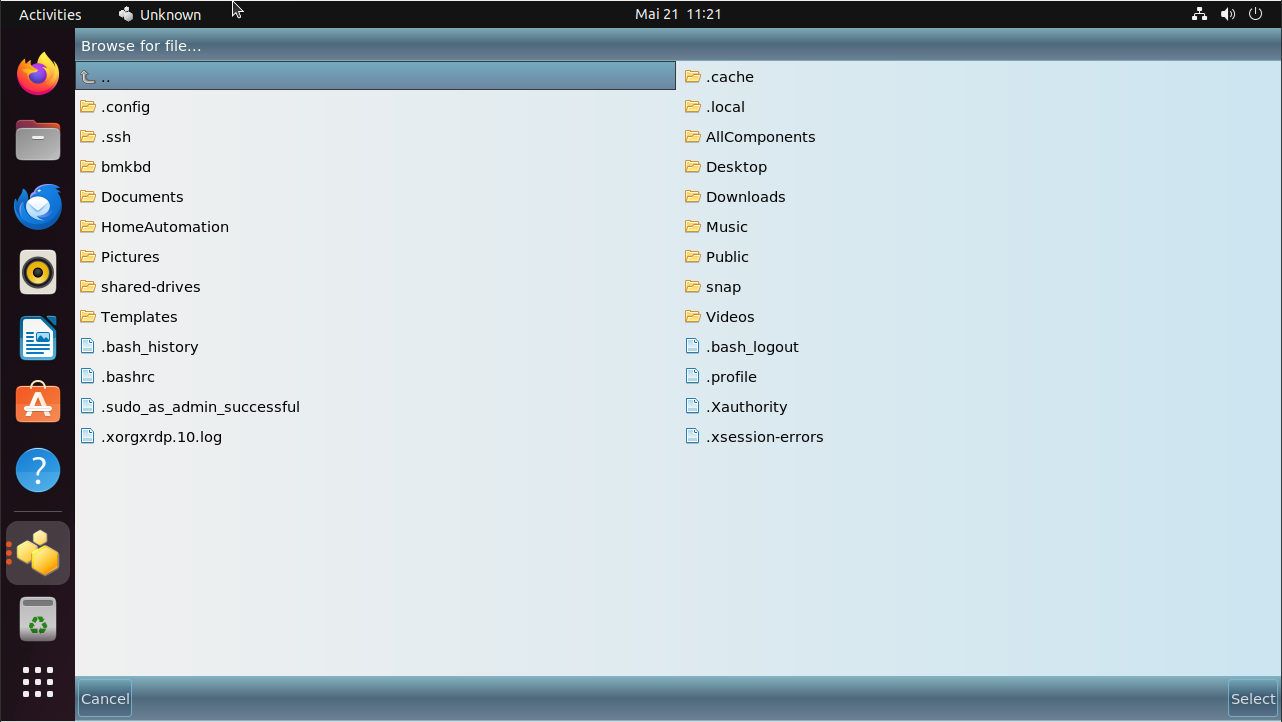
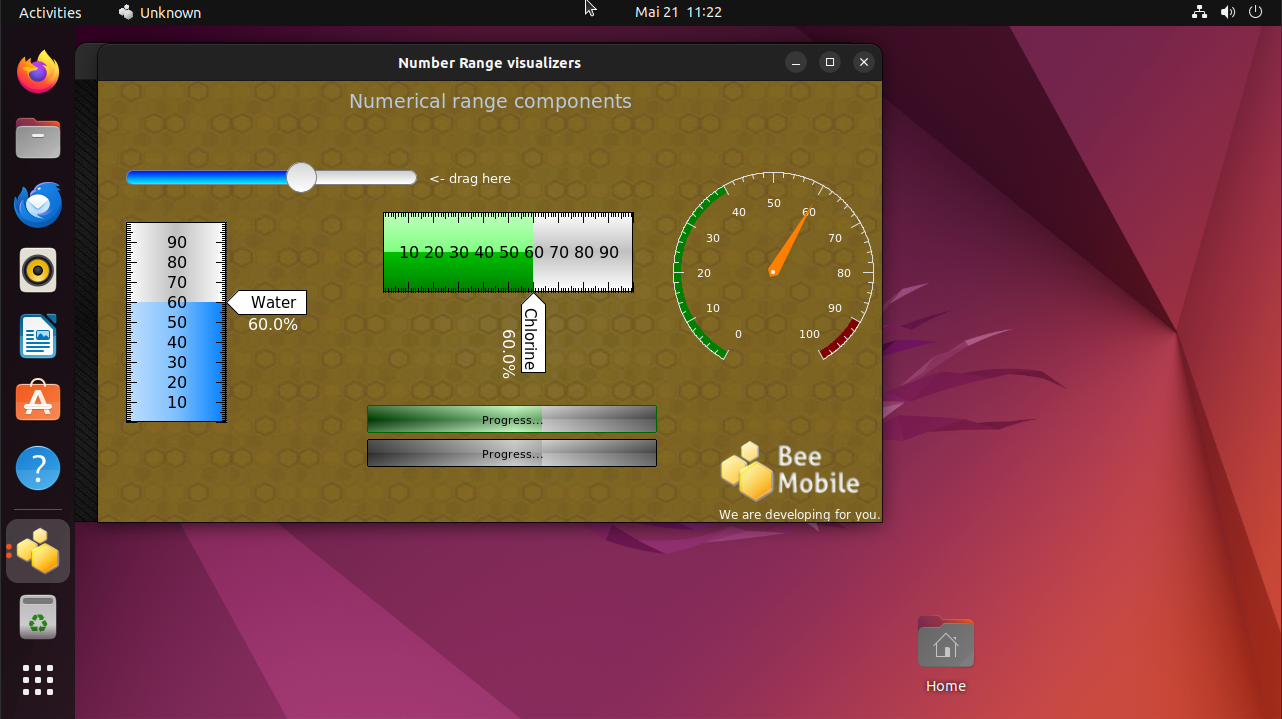
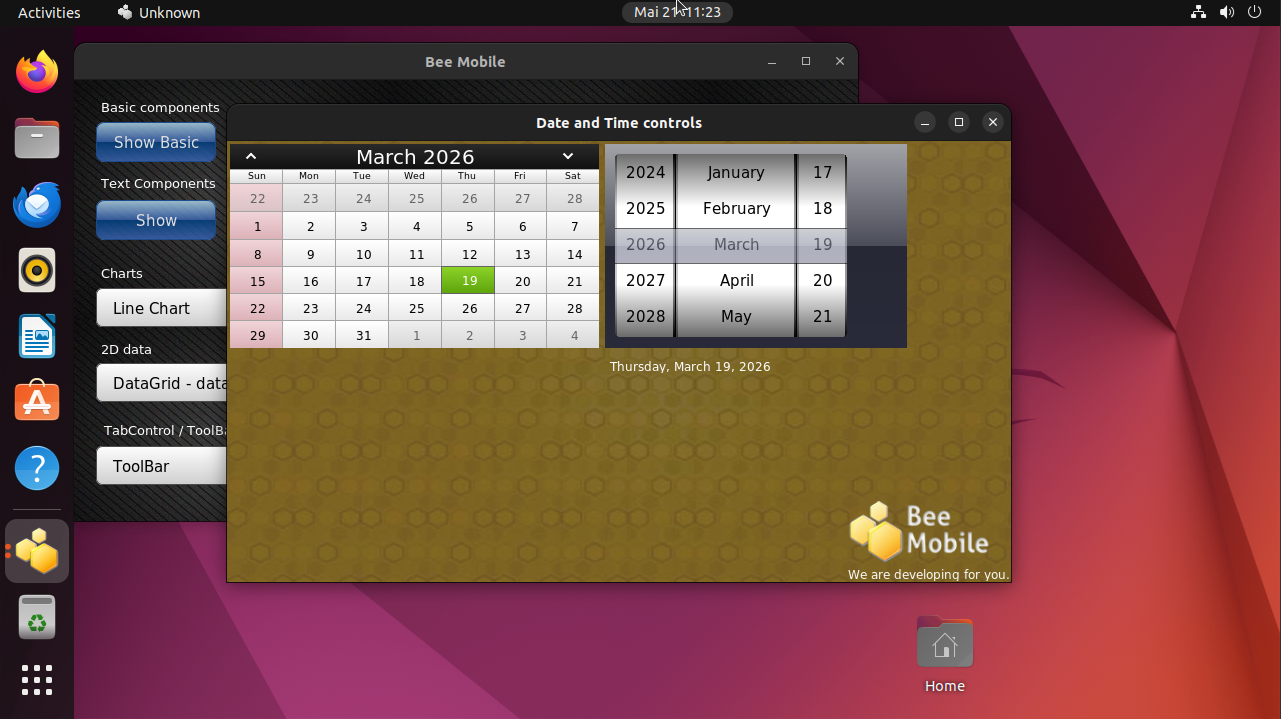
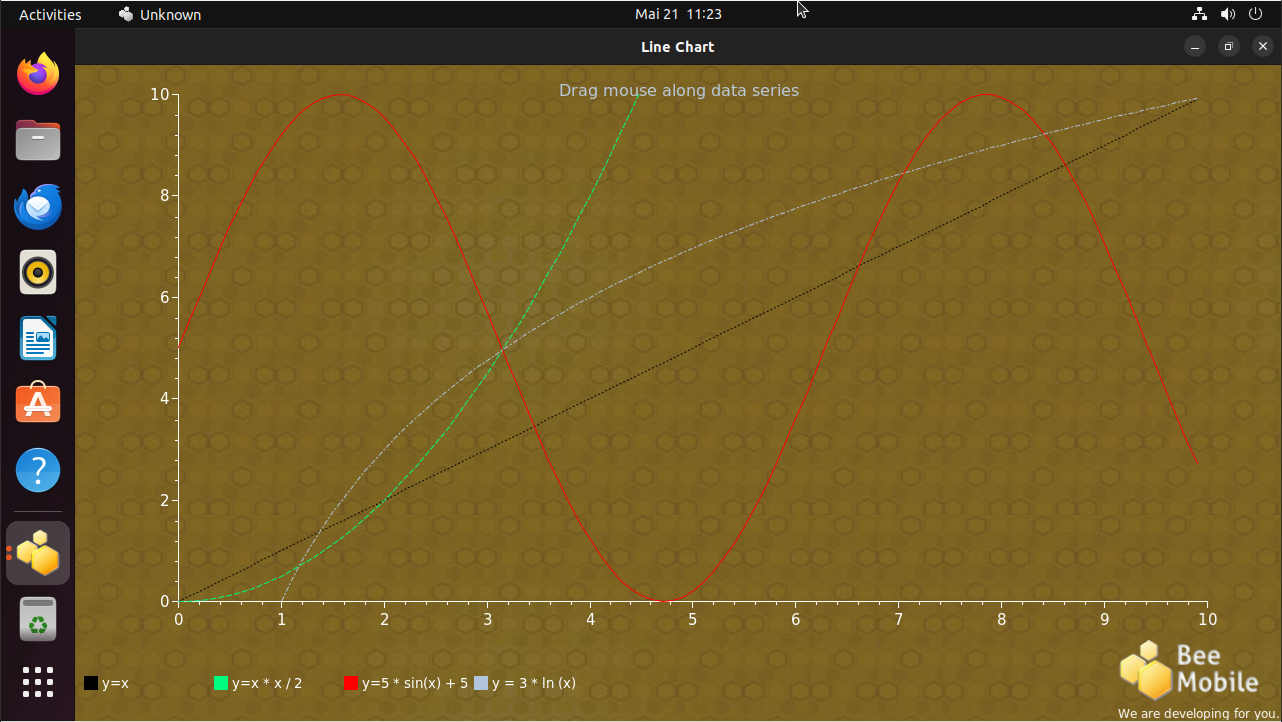
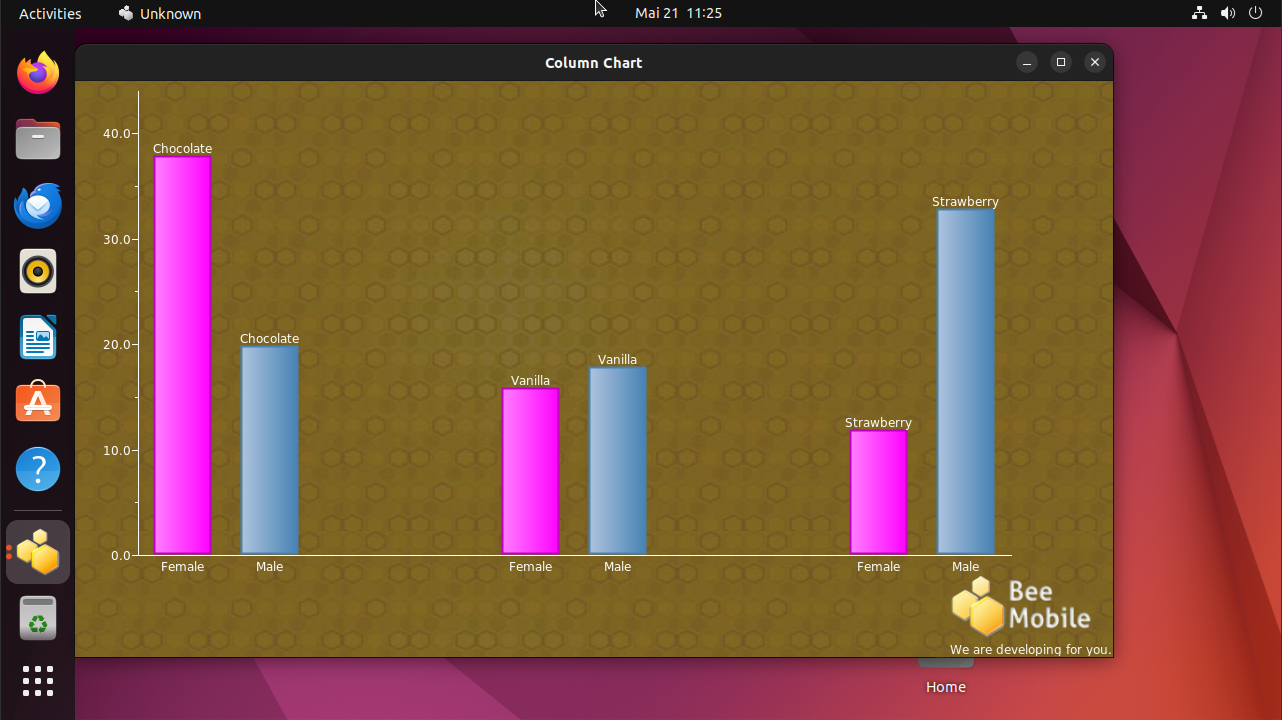
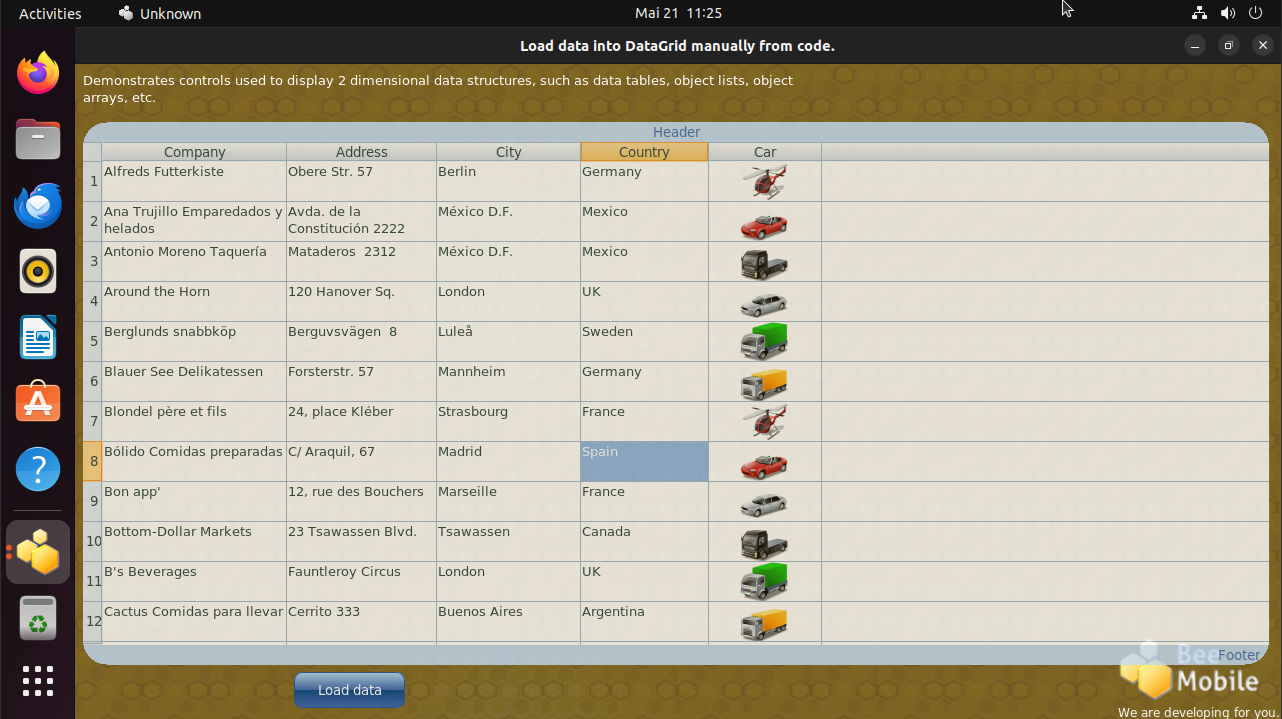
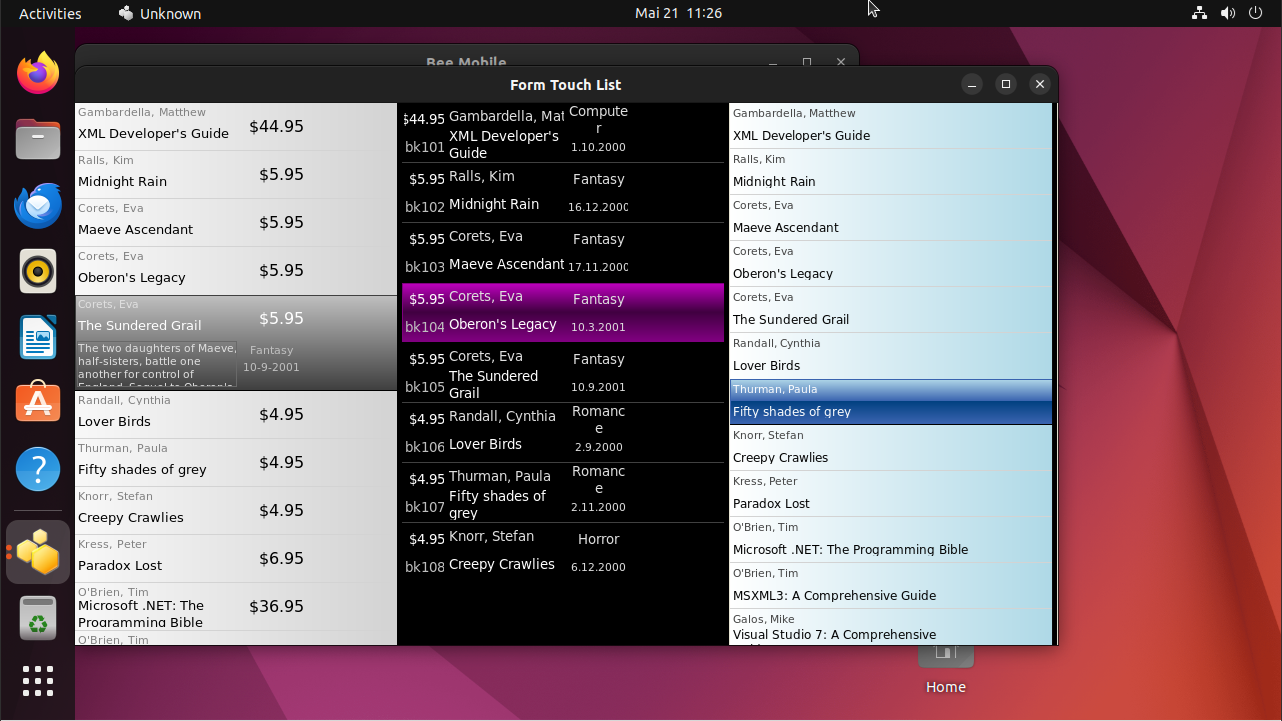
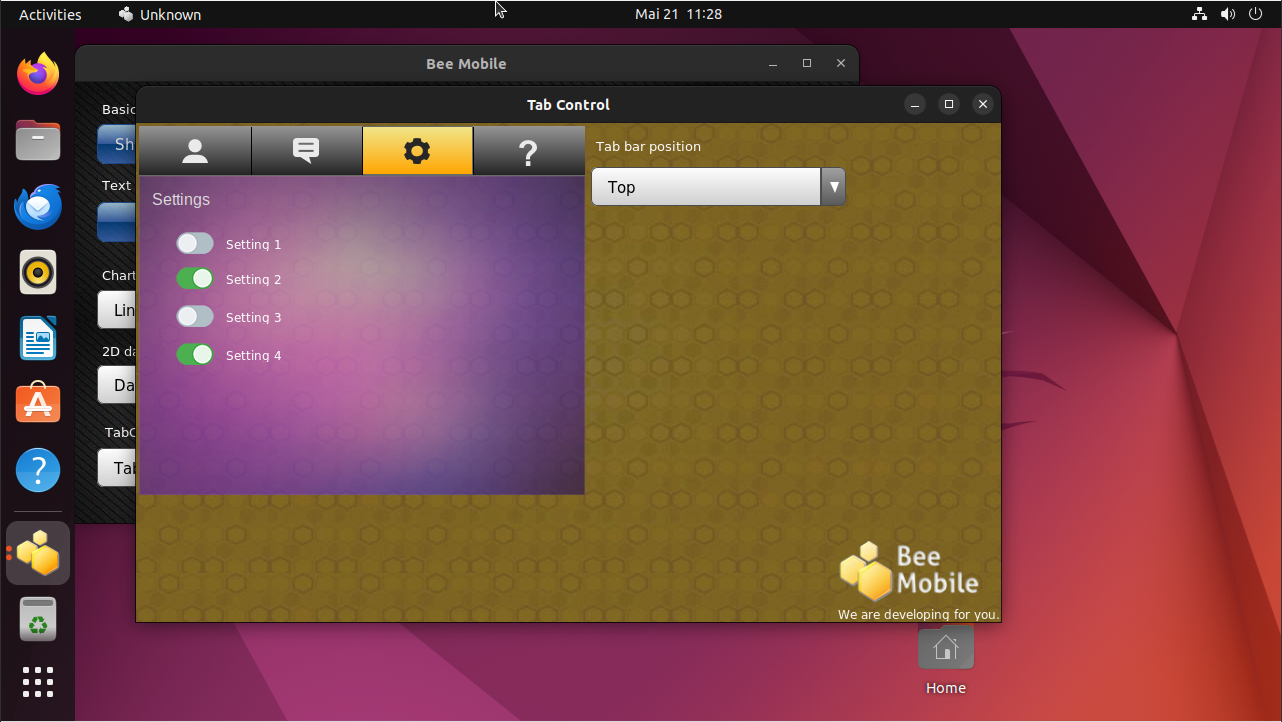
Here’s a gallery of screenshots, that were taken directly from Ubuntu OS.