Run Samples On F&S Armstone A9
Before we proceed to deployment and execution of iDesk components on F&S Armstone A9 board, make sure you prepared it by following this material. This is a sequence of 5 articles which describe how to prepare the Armstone A9 board for deployment of sample projects. Once your Armstone A9 board is ready, continue with the description on this page.
Connect to your Armstone A9 board over SSH
Use Putty or similar application to connect to your Armstone A9 board. If you prepared your board according to set of articles described above, the OS will be setup in a way, that root can log in over SSH. Also, it will be setup so that root user has no password set.
Build native Bee Mobile Keyboard library
To run applications which make use of Bee Mobile on-screen Keyboard component, it is necessary to compile and build a C language library (native compilation). To do that, use Fedora VM virtual machine that you prepared earlier.
- Within your Fedora VM, start MATE terminal.
- Perform this sequence of commands:
cd ~ git clone -b VirtualKeyboard https://git.beemobile4.net/git/Yocto bmkbd cd bmkbd - Build the library:
make arm32This should produce a file named
bmkbd_arm32.soin your current folder. Retrieve this file to your hot operating system. You can use the same (or similar) approach as described here. The linked article describes how to copy the built OS from your Fedora VM to an SD Card. Note, that you can map a folder of your host OS’s hard drive into Fedora VM. - Once retrieved to your host OS’s file system, copy it to the folder of your sample project.
- Then in Visual Studio’s Solution Explorer, make the file part of the project. You may want to use “Show all files” feature of Solution Explorer. Once you see the file, right-click it and then click “Include In Project”.
- Once part of project, right-click it again and then click Properties.
- Set “Build Action” to “Content”.
- Set “Copy to Output Directory” to “Copy if newer”.
Install VSMonoDebugger extension to your Visual Studio
If you haven’t already, install Visual Studio Mono Debugger extension into your Visual Studio. Detailed description is here.
Upload sample project to your F&S board
- Once you have the VSMonoDebugger2022 extension installed, deploying, running and debugging your application is quite straightforward. Go to Extension → MonoDebugger → Settings…
- Fill out the necessary settings. Detailed description can be found directly on the website of the extenion here.
- Then, simply from the Extension → MonoDebugger menu, choose what you want to do: deploy, run and debug or deploy, run and debug.
If you are experiencing issue while using this extension, which is described here, then download the extension from this link. It is the updated (fixed) extension.
Tip: Pay extra attention to “Deploy Path:” setting. Here you specify path to folder on your F&S board, where the project should be deployed. If there is not enough space in that folder, you may want to deploy either to an SD card of the board or to a USB mass storage device. For that, create a folder first, e.g., mkdir -p /mnt/usb01. Then mount your usb mass storage device to it. E.g., mount /dev/sda1 /mnt/usb01.
Result
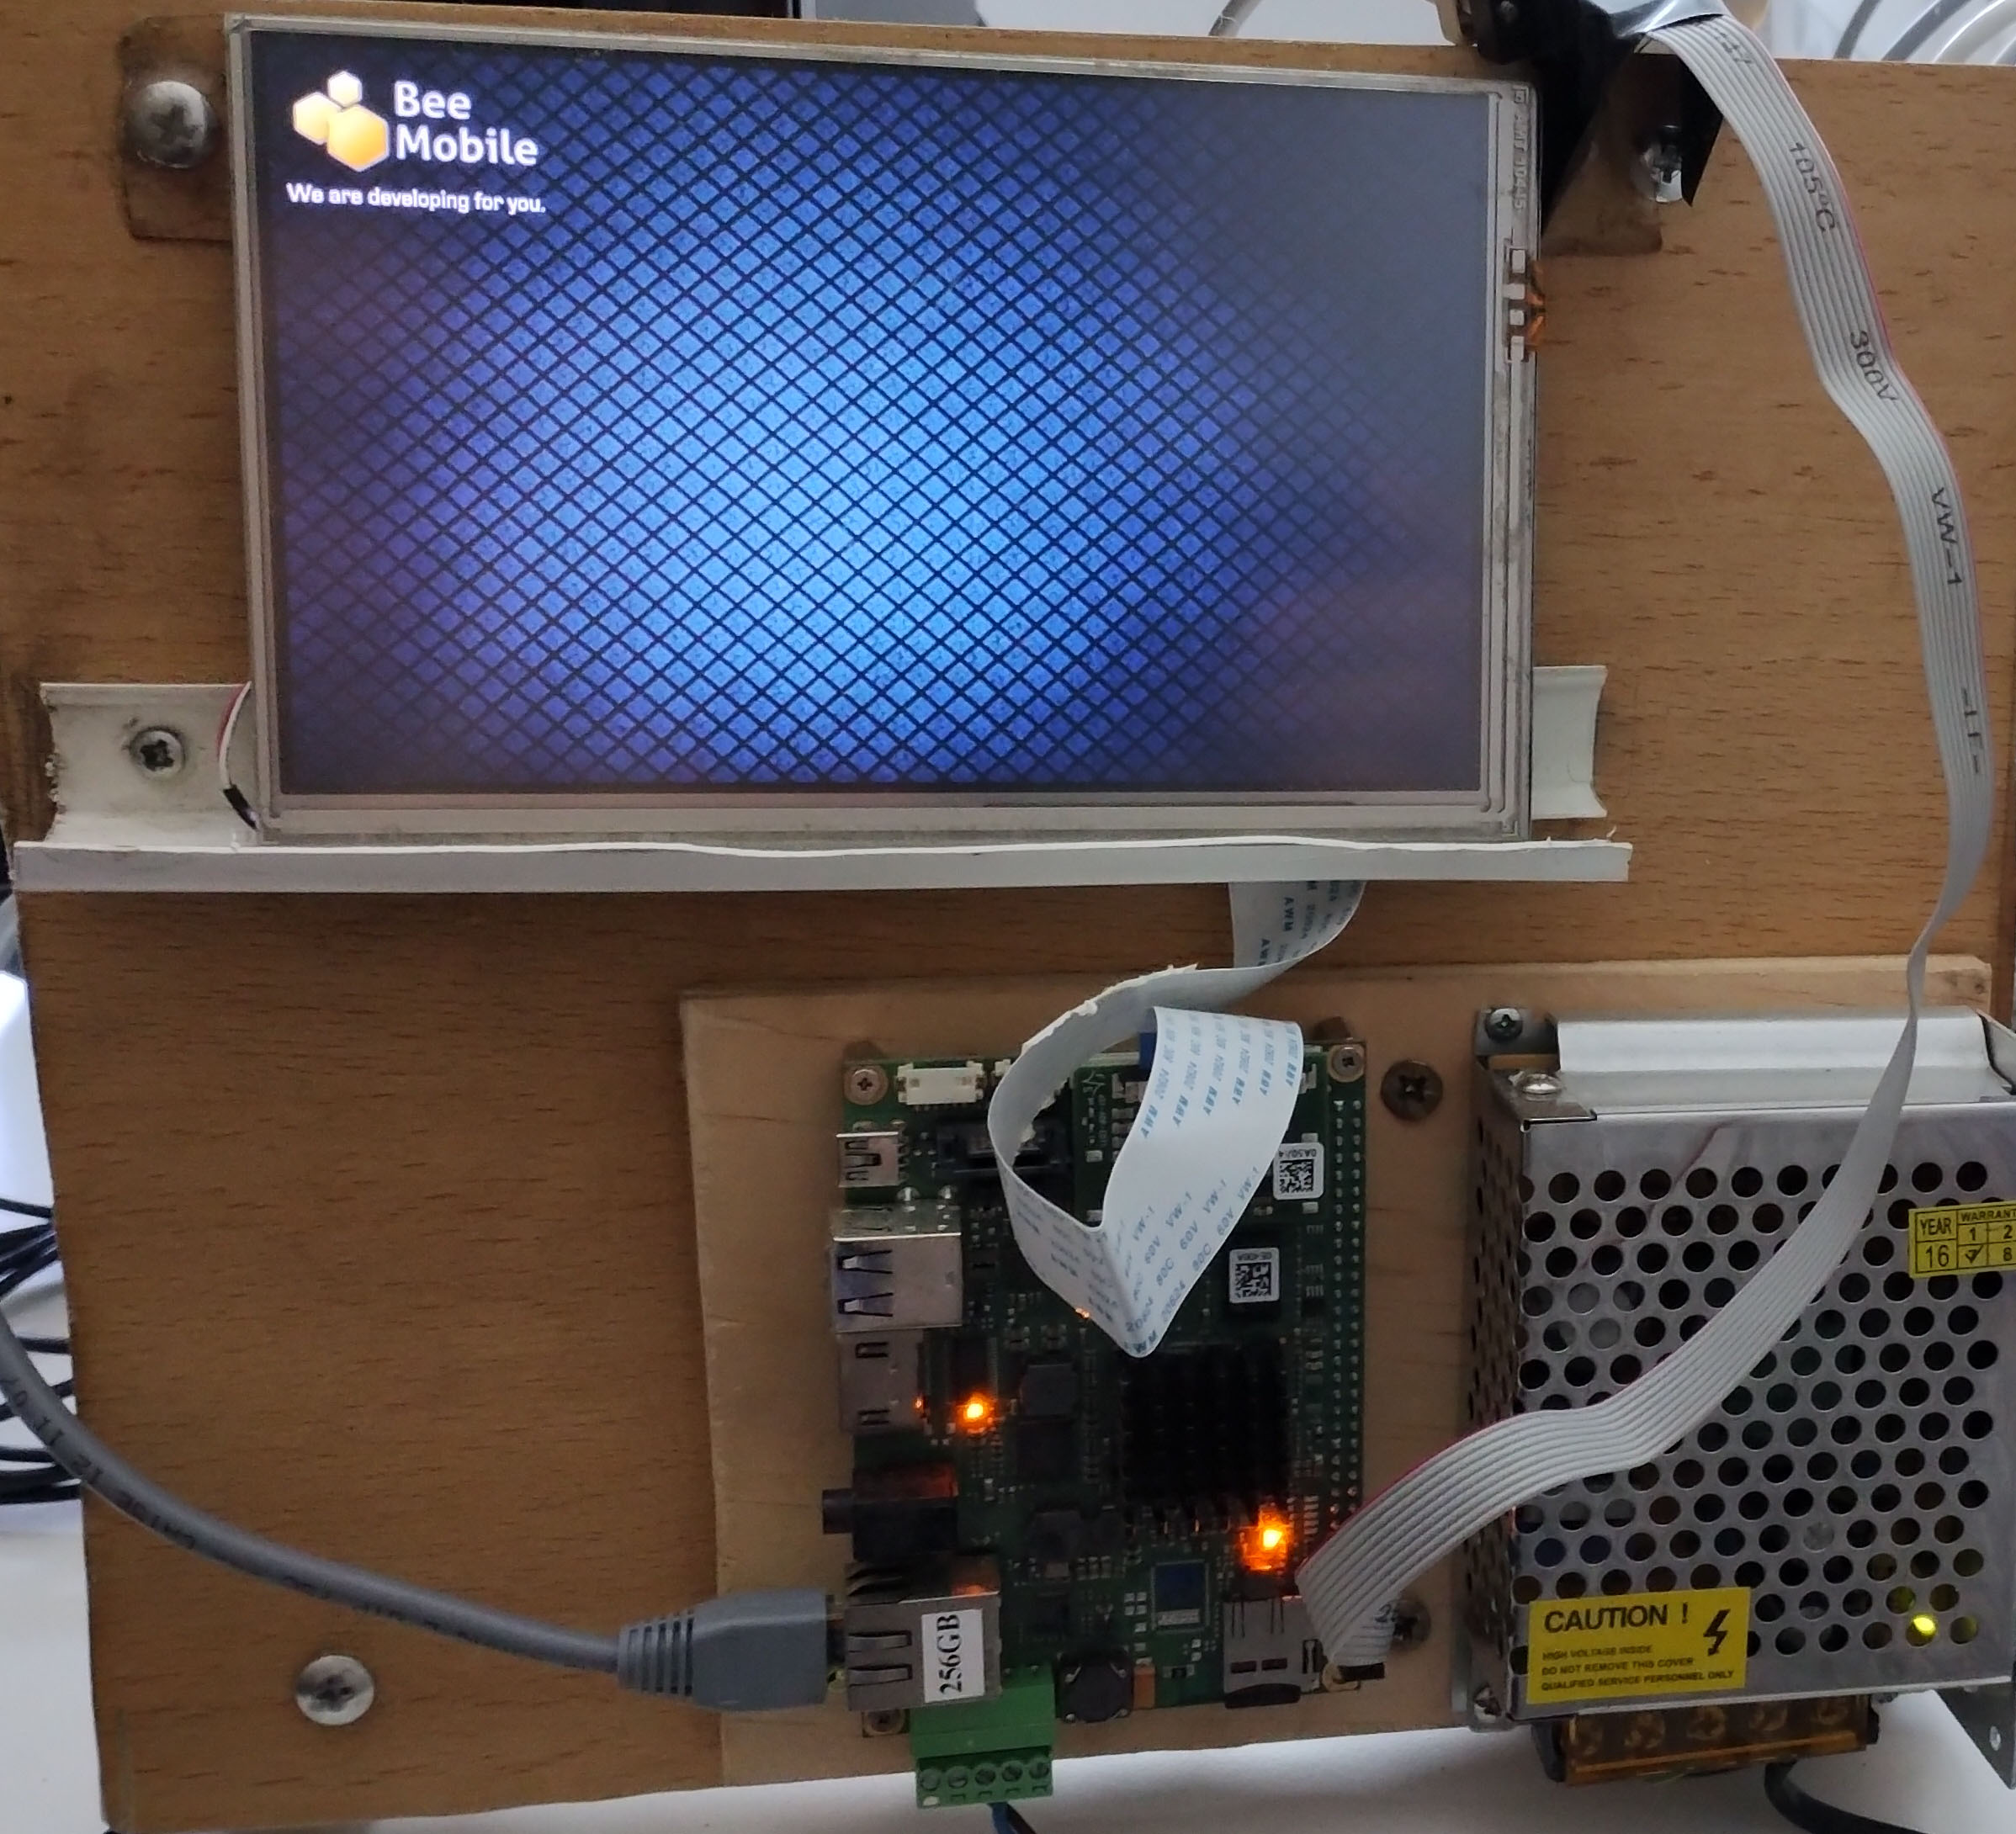
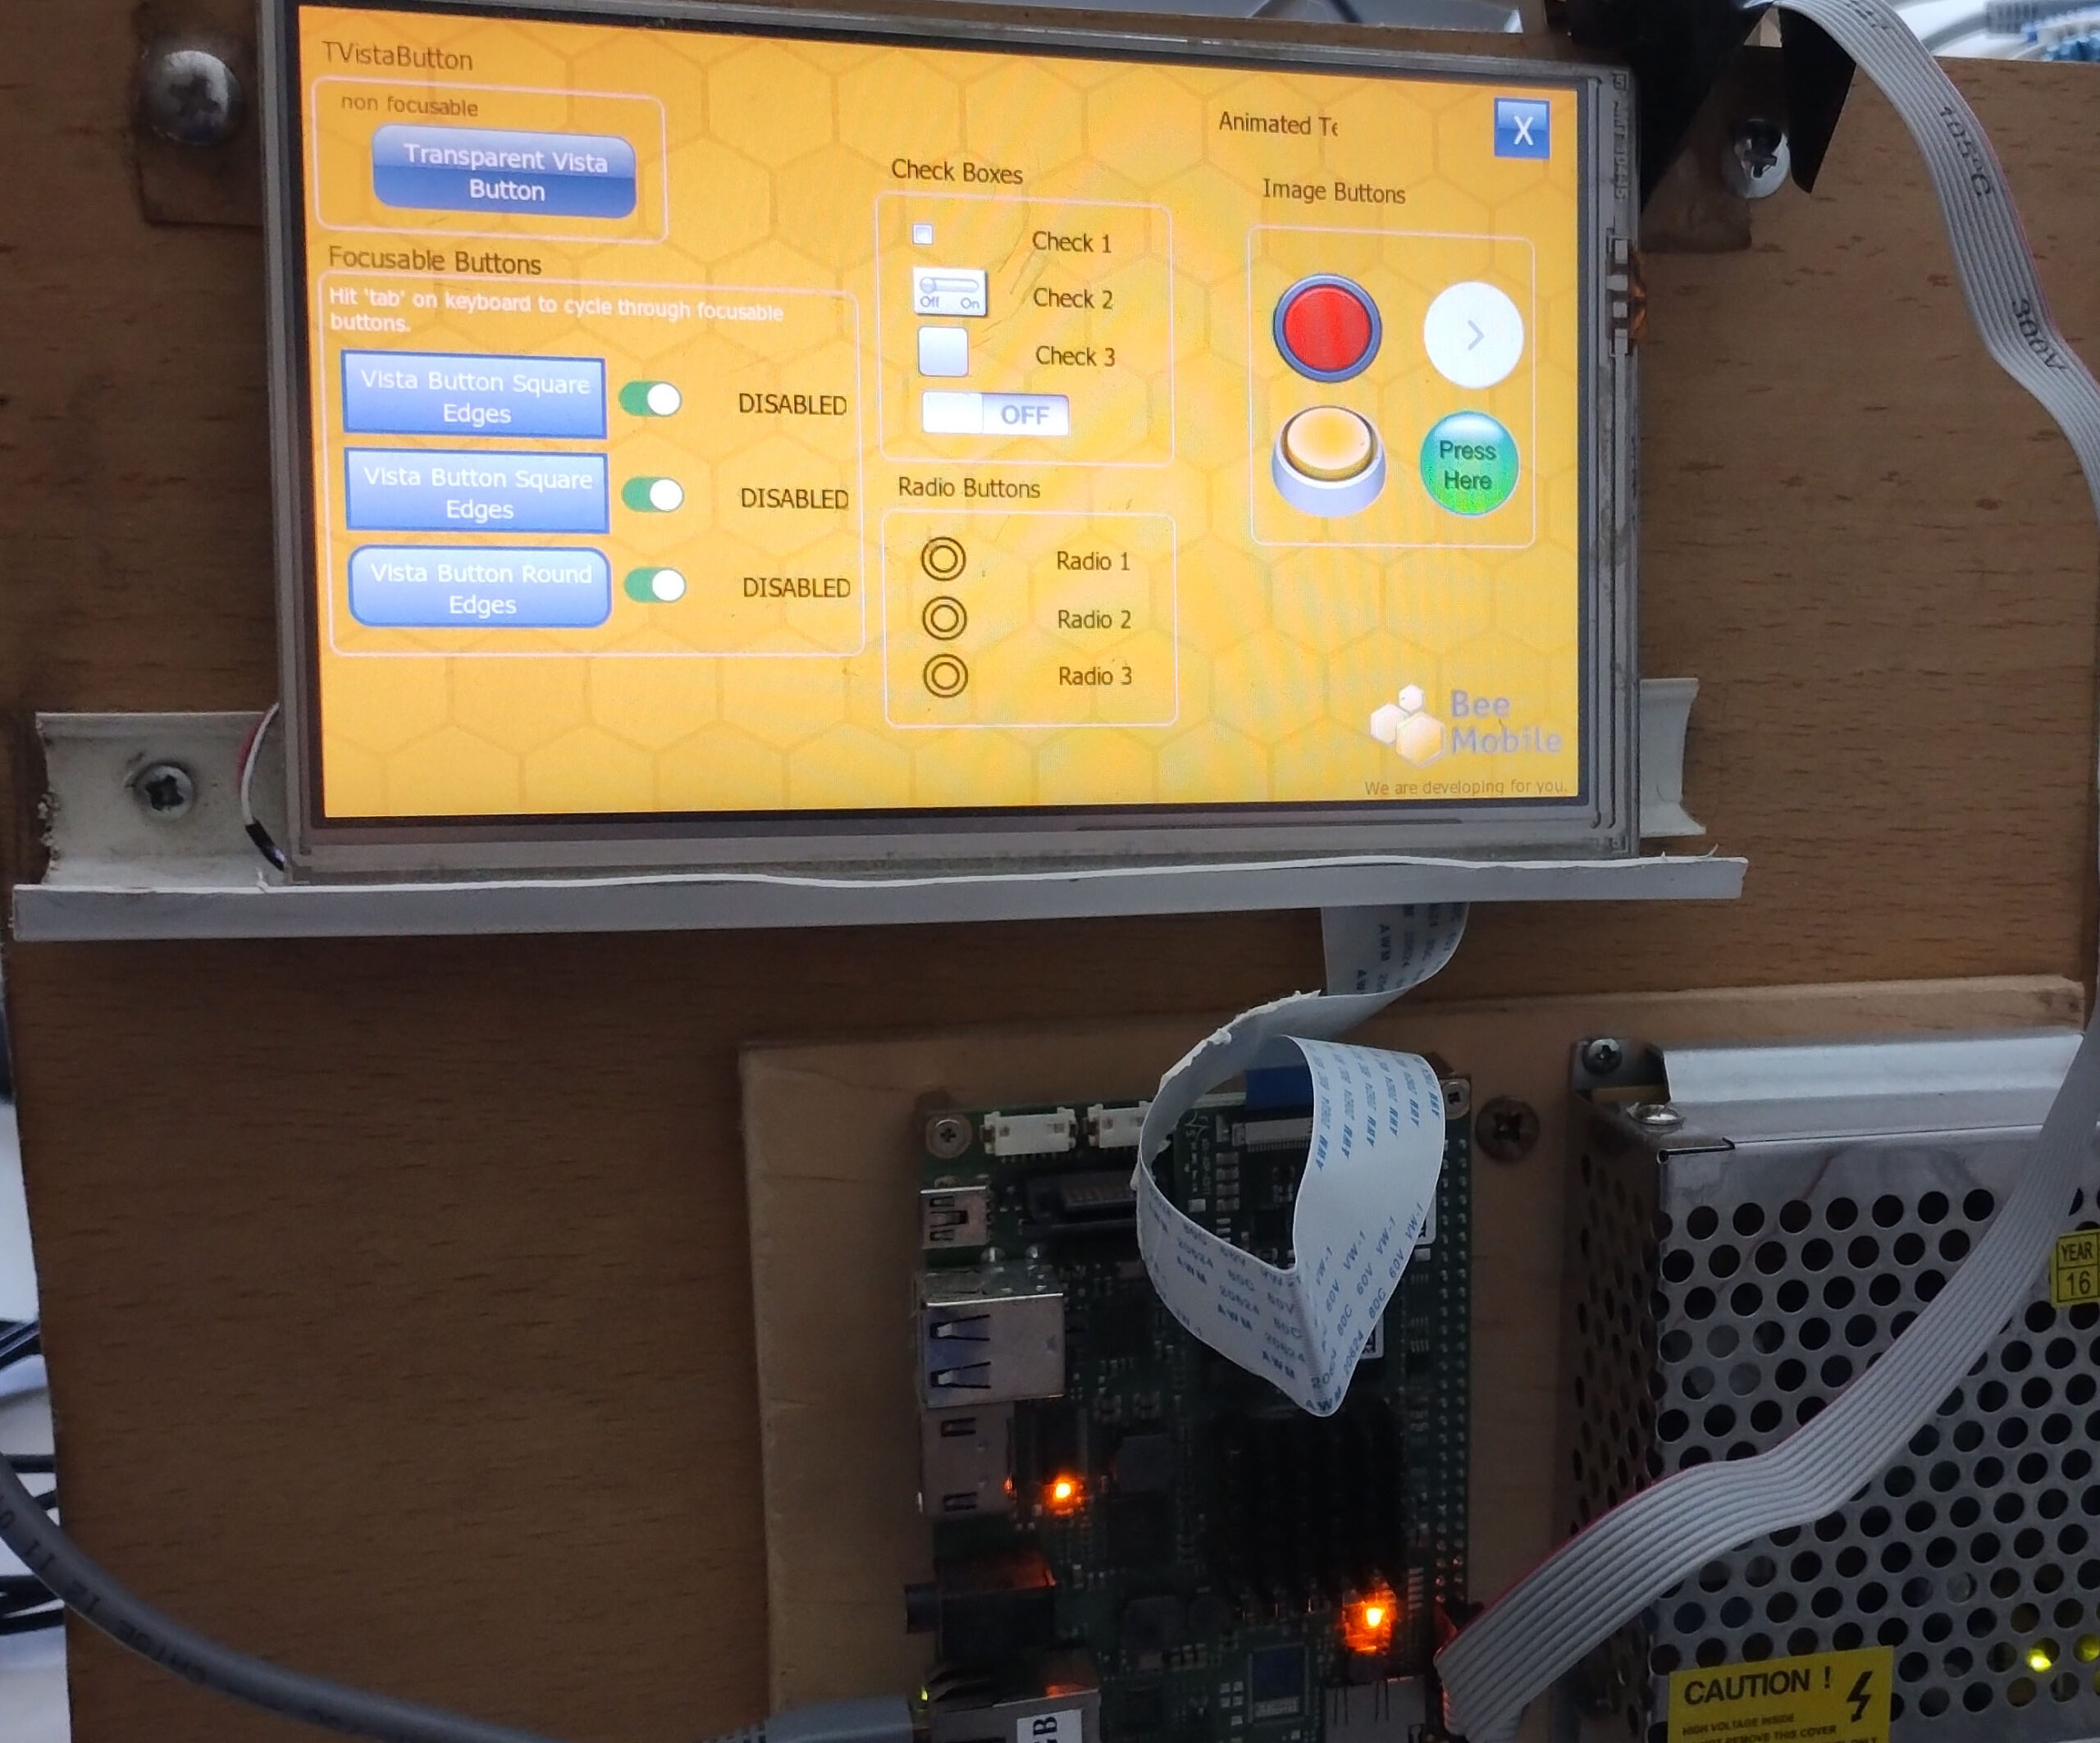
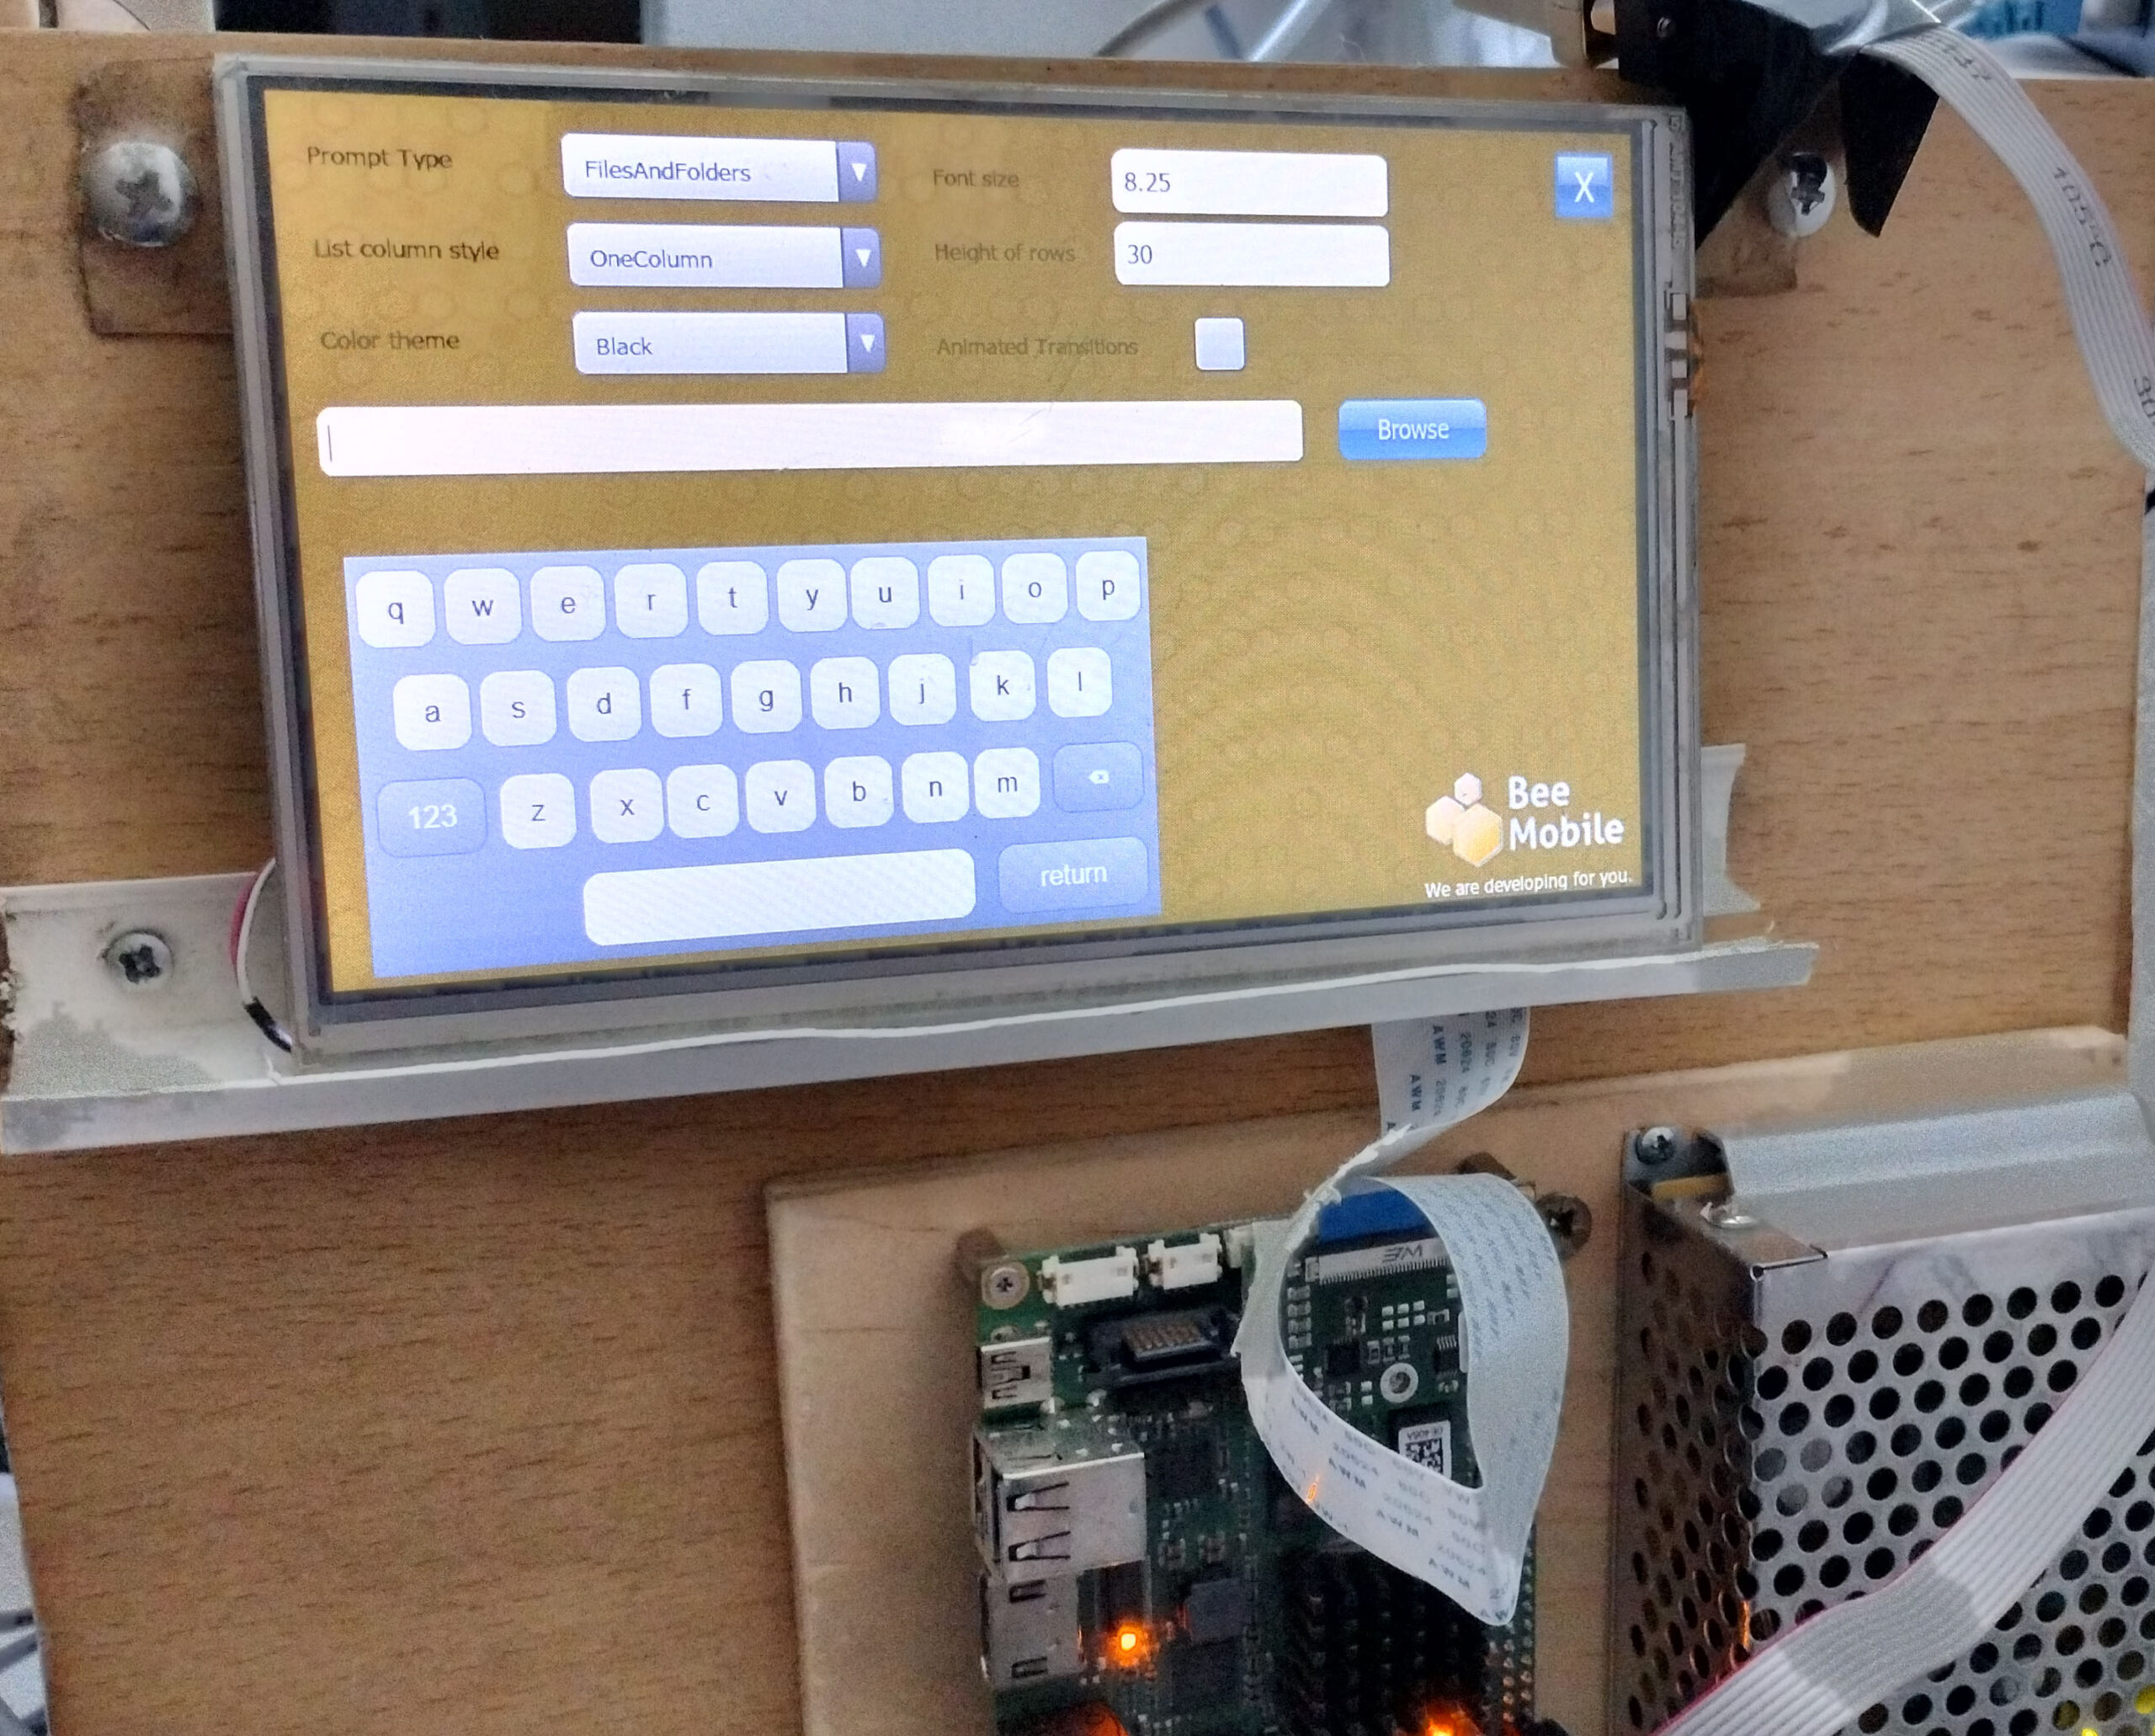
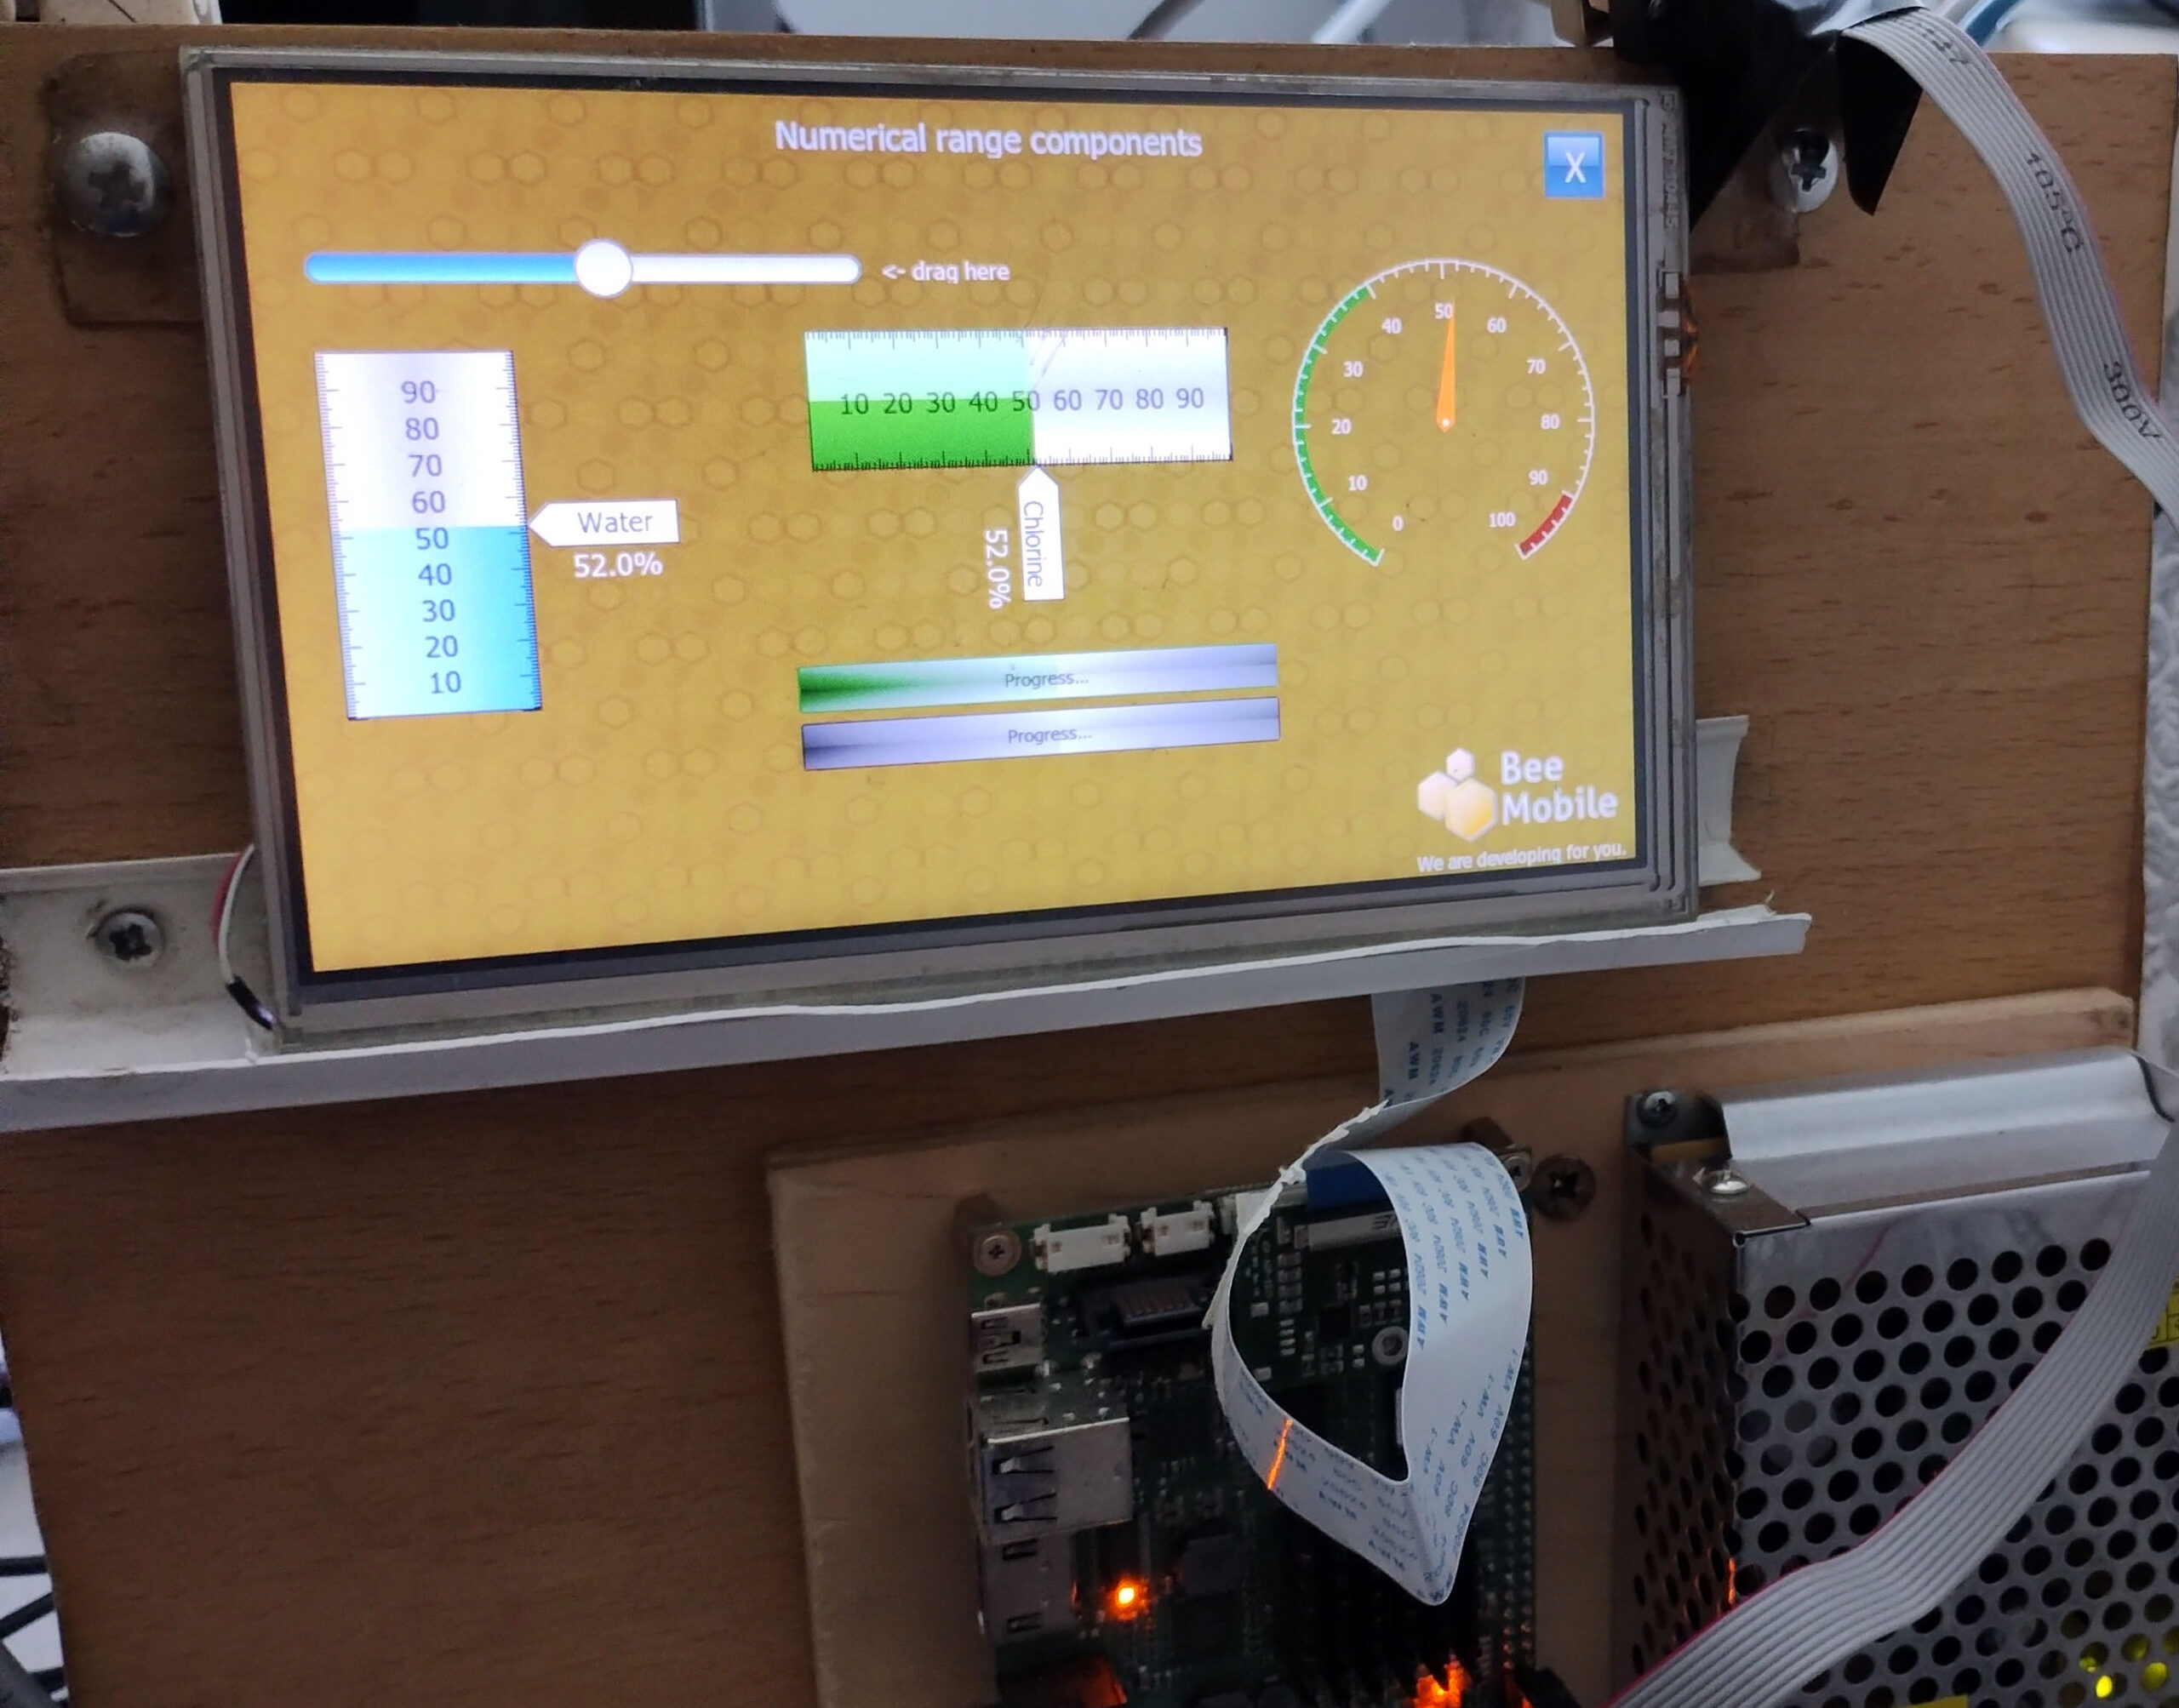
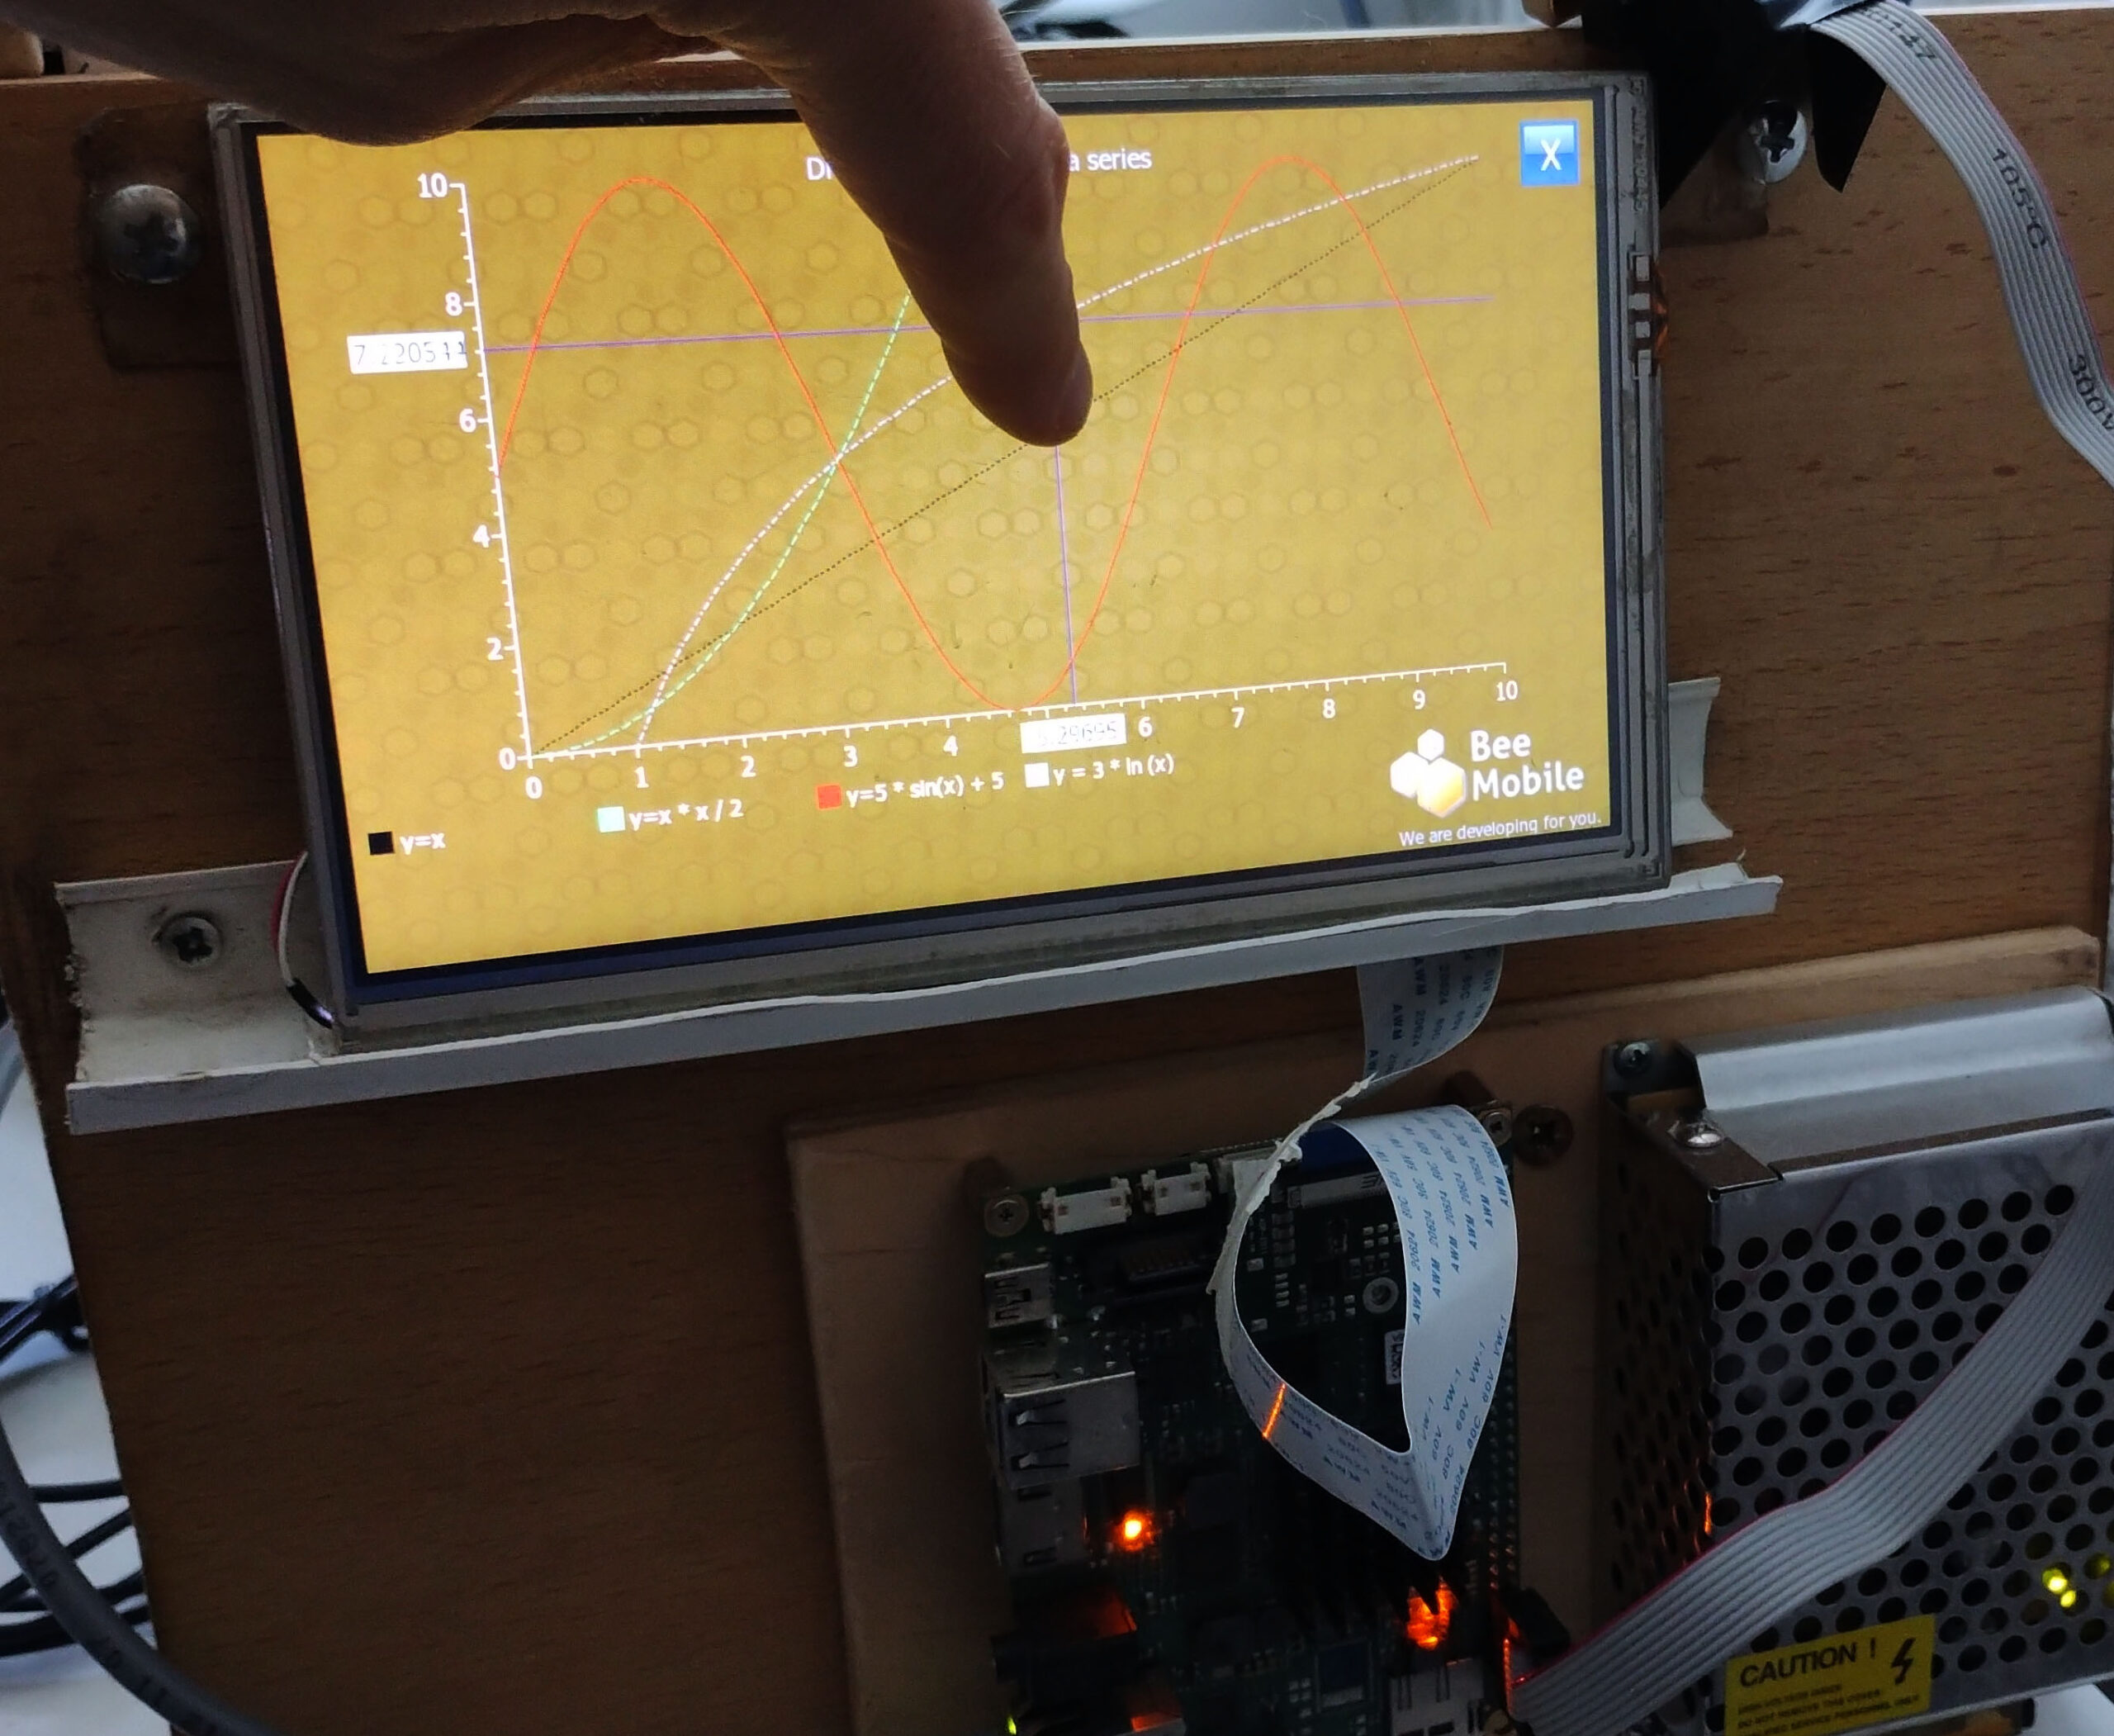
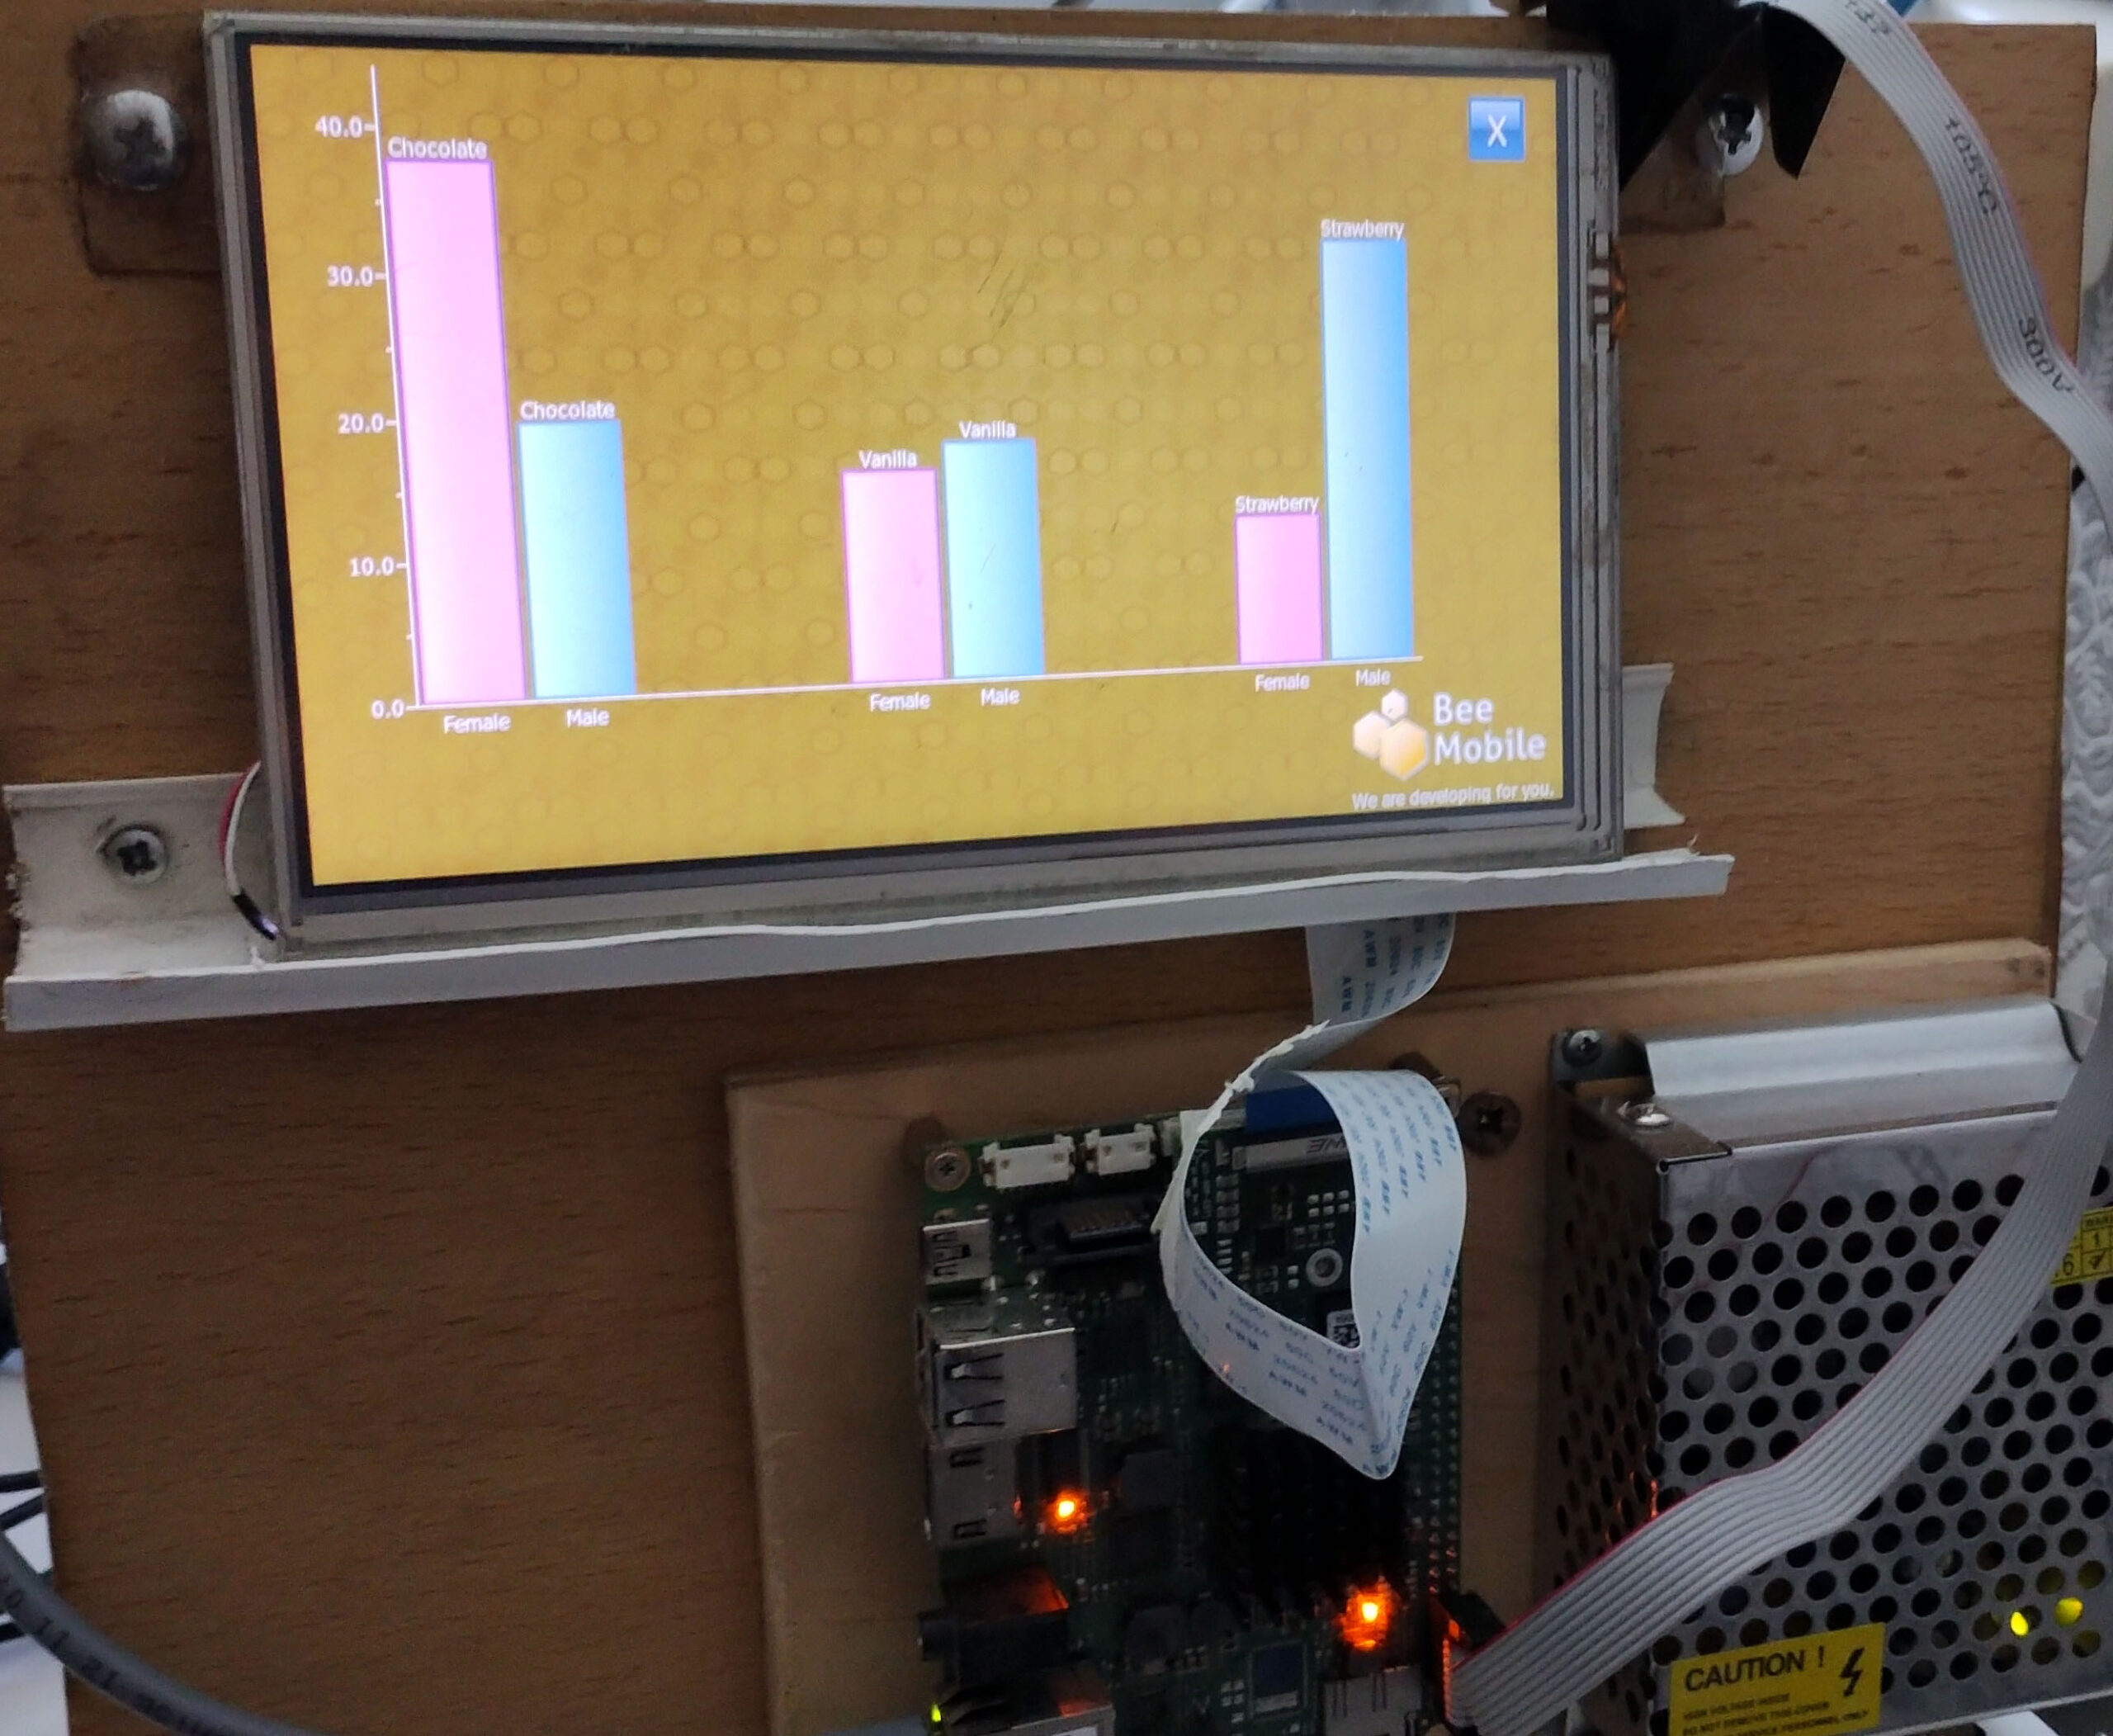
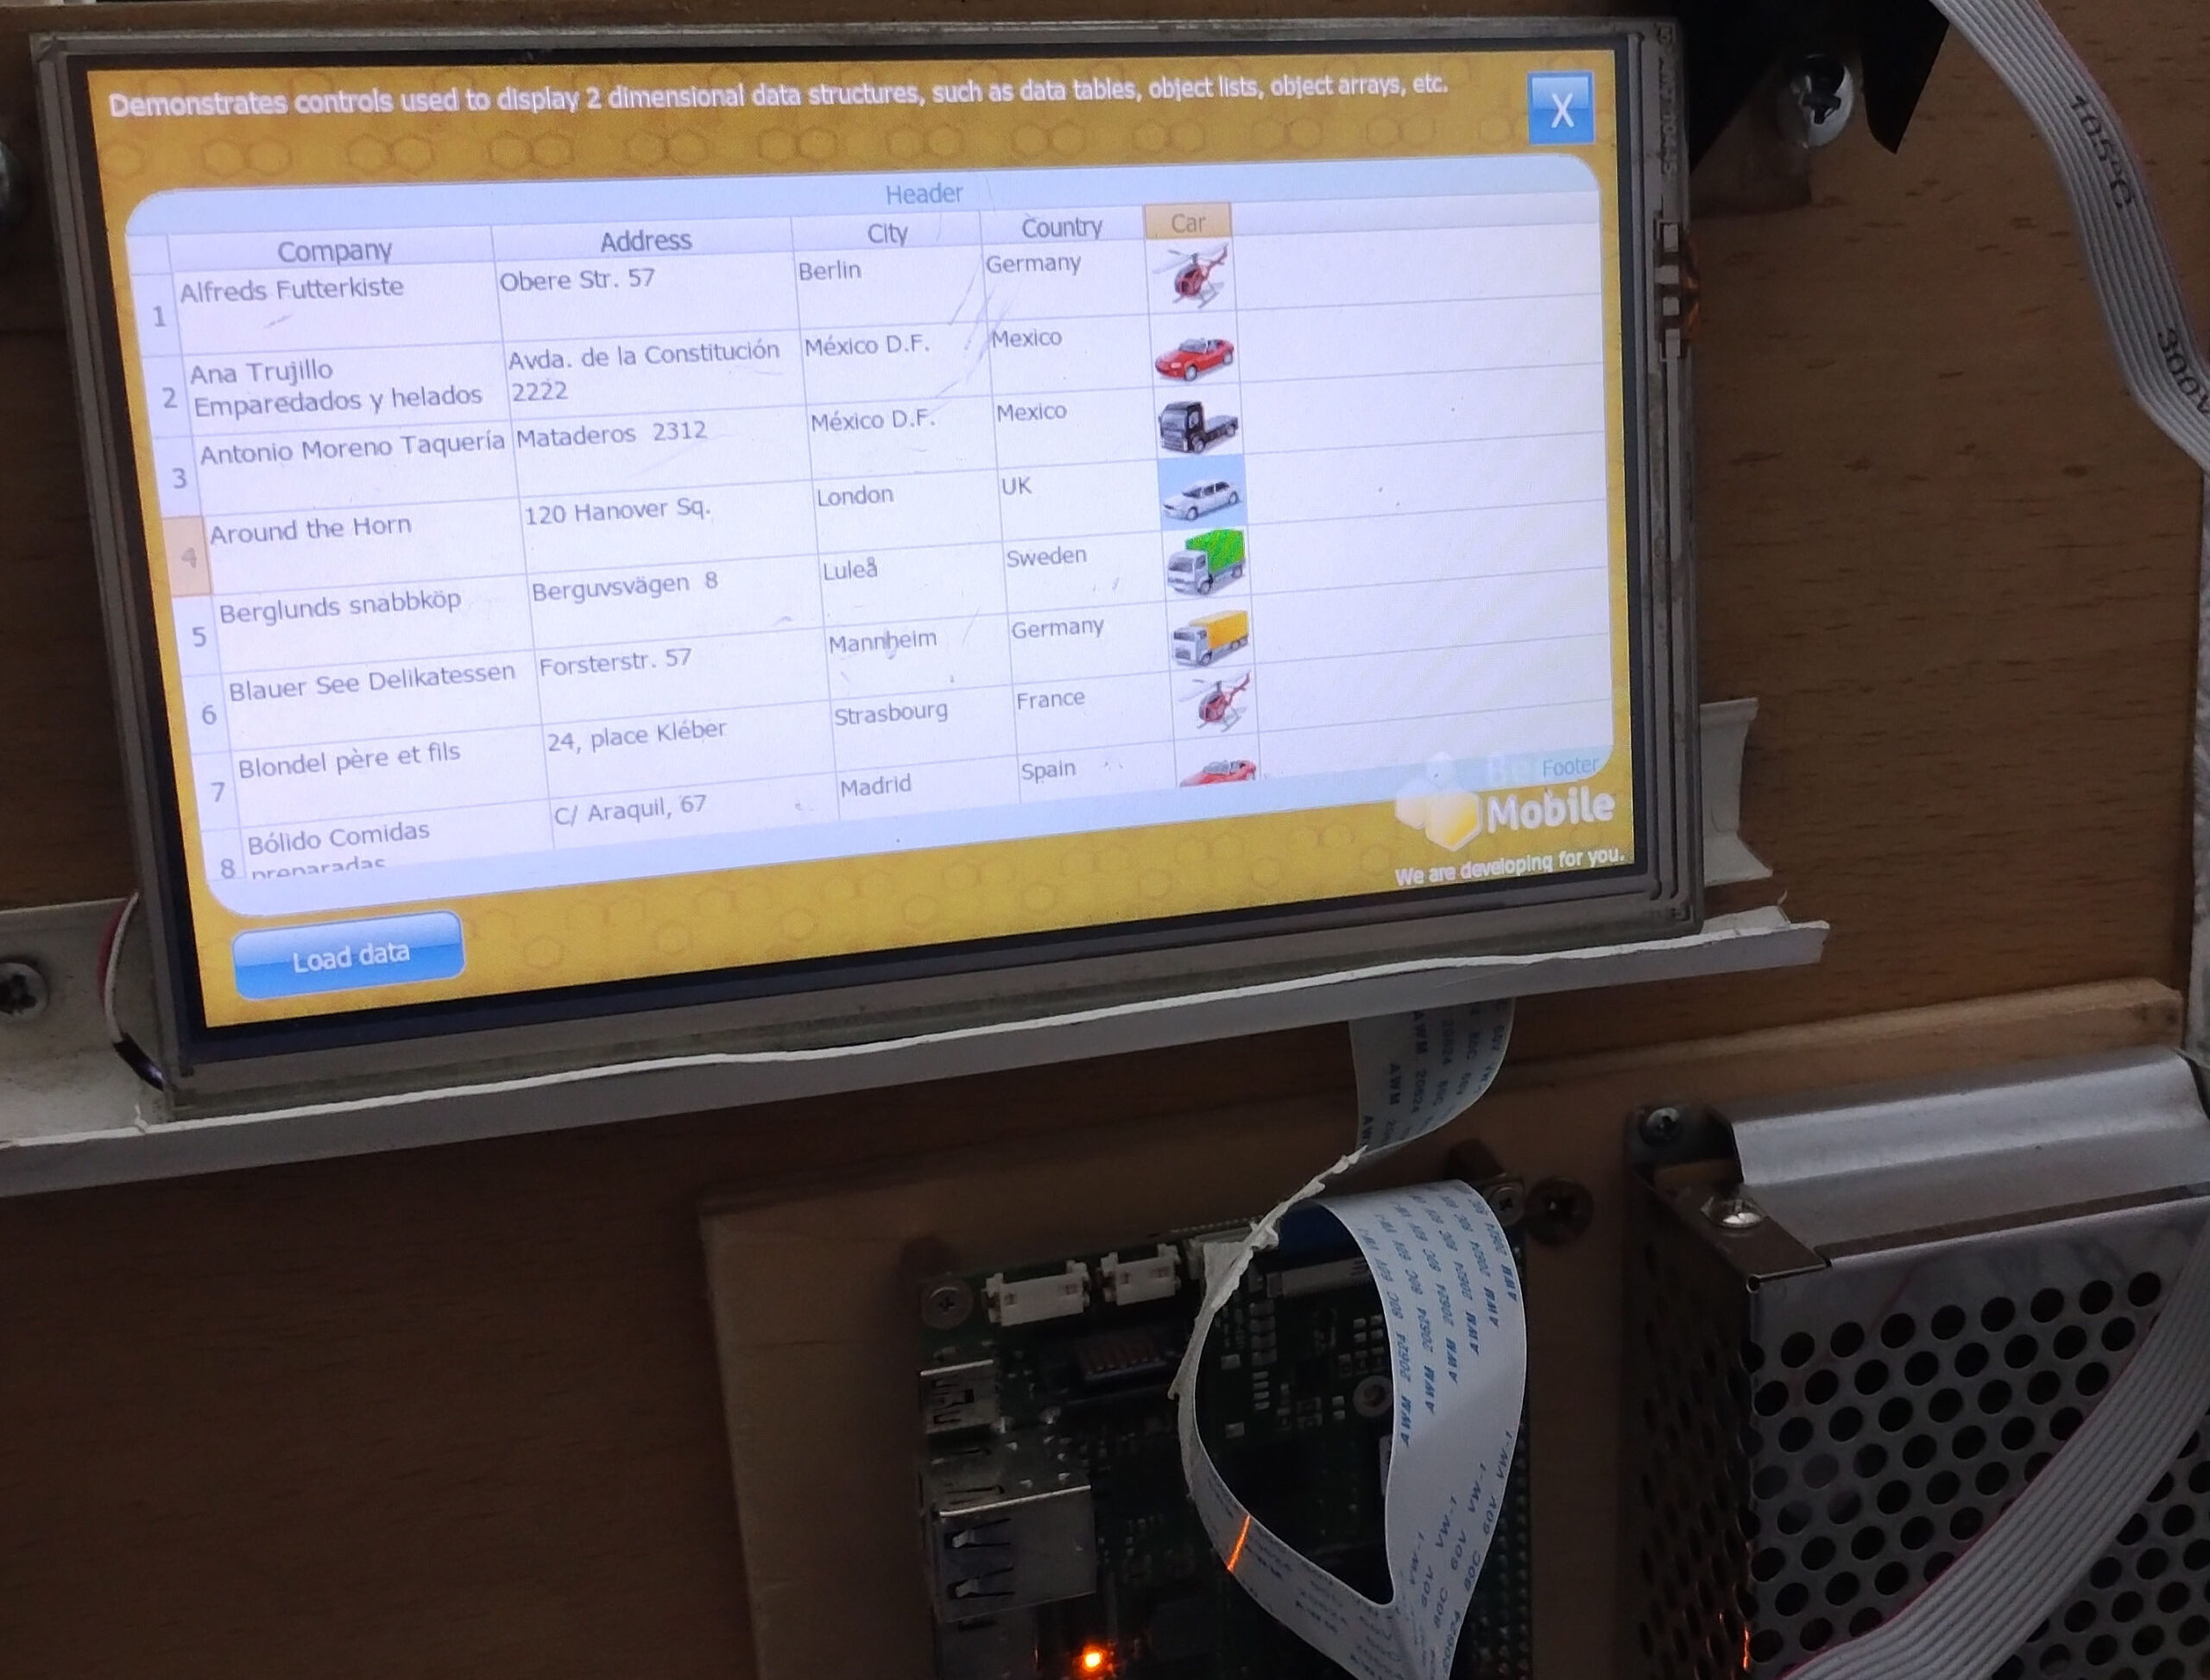
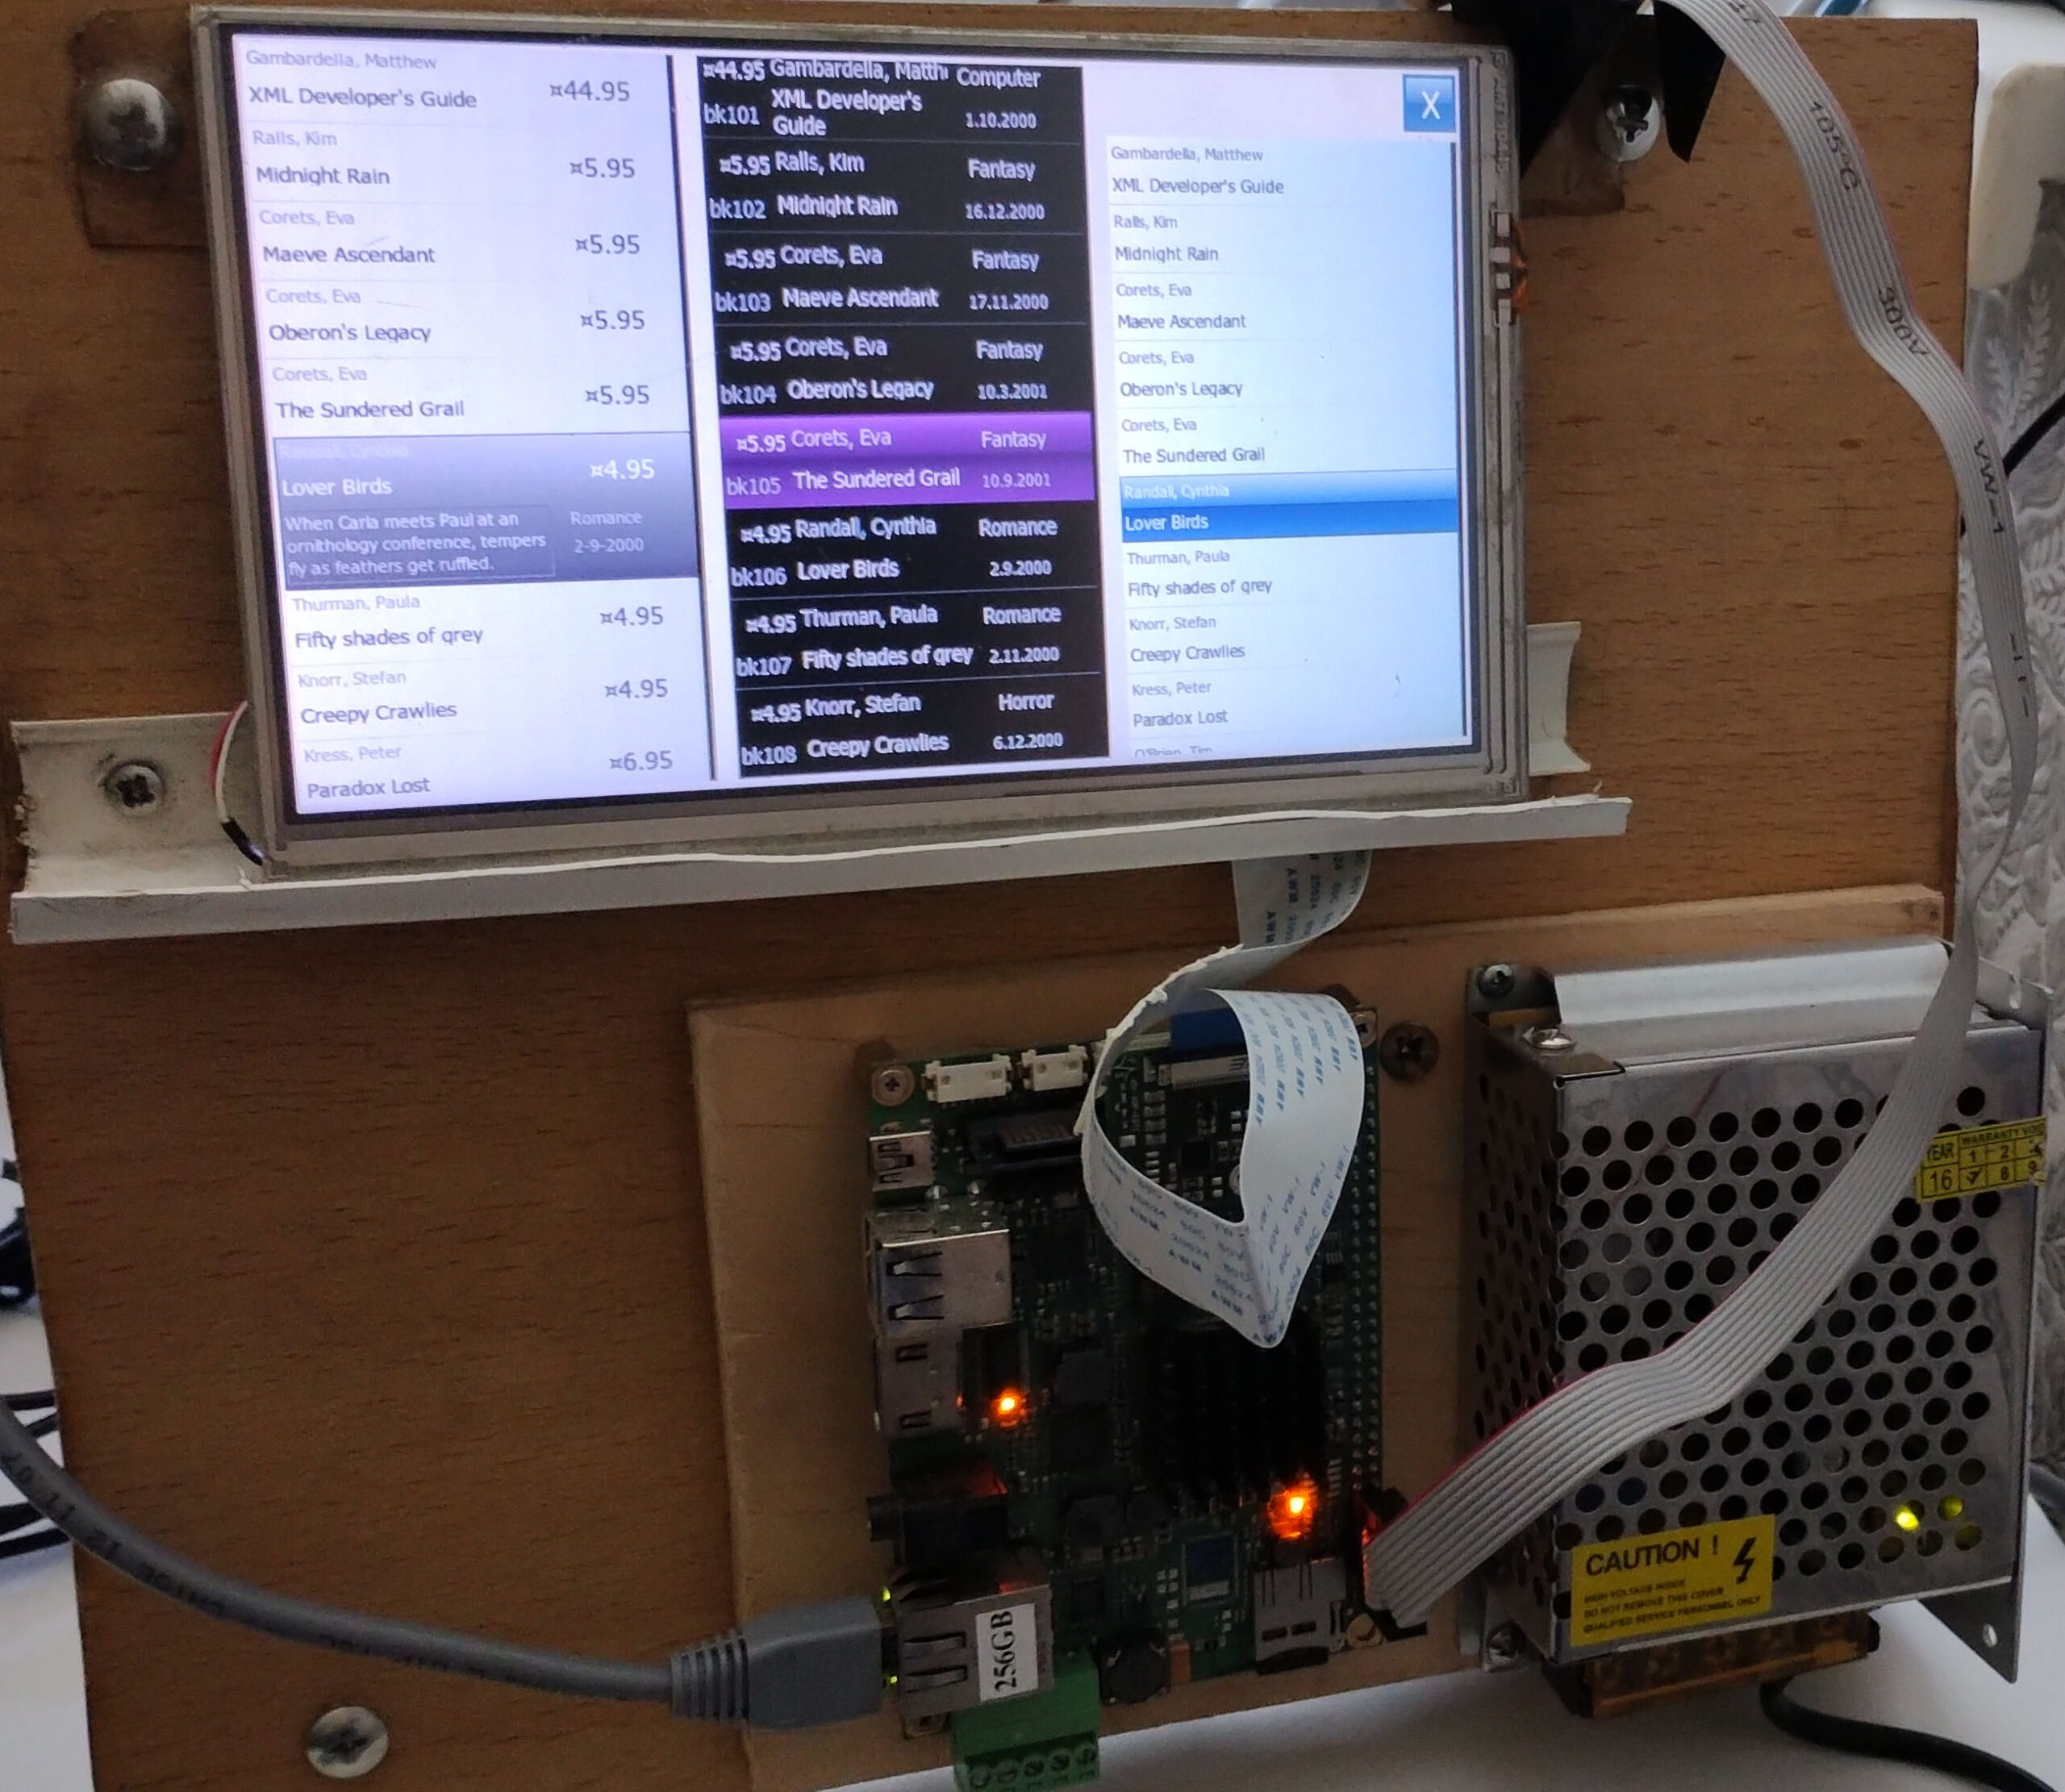
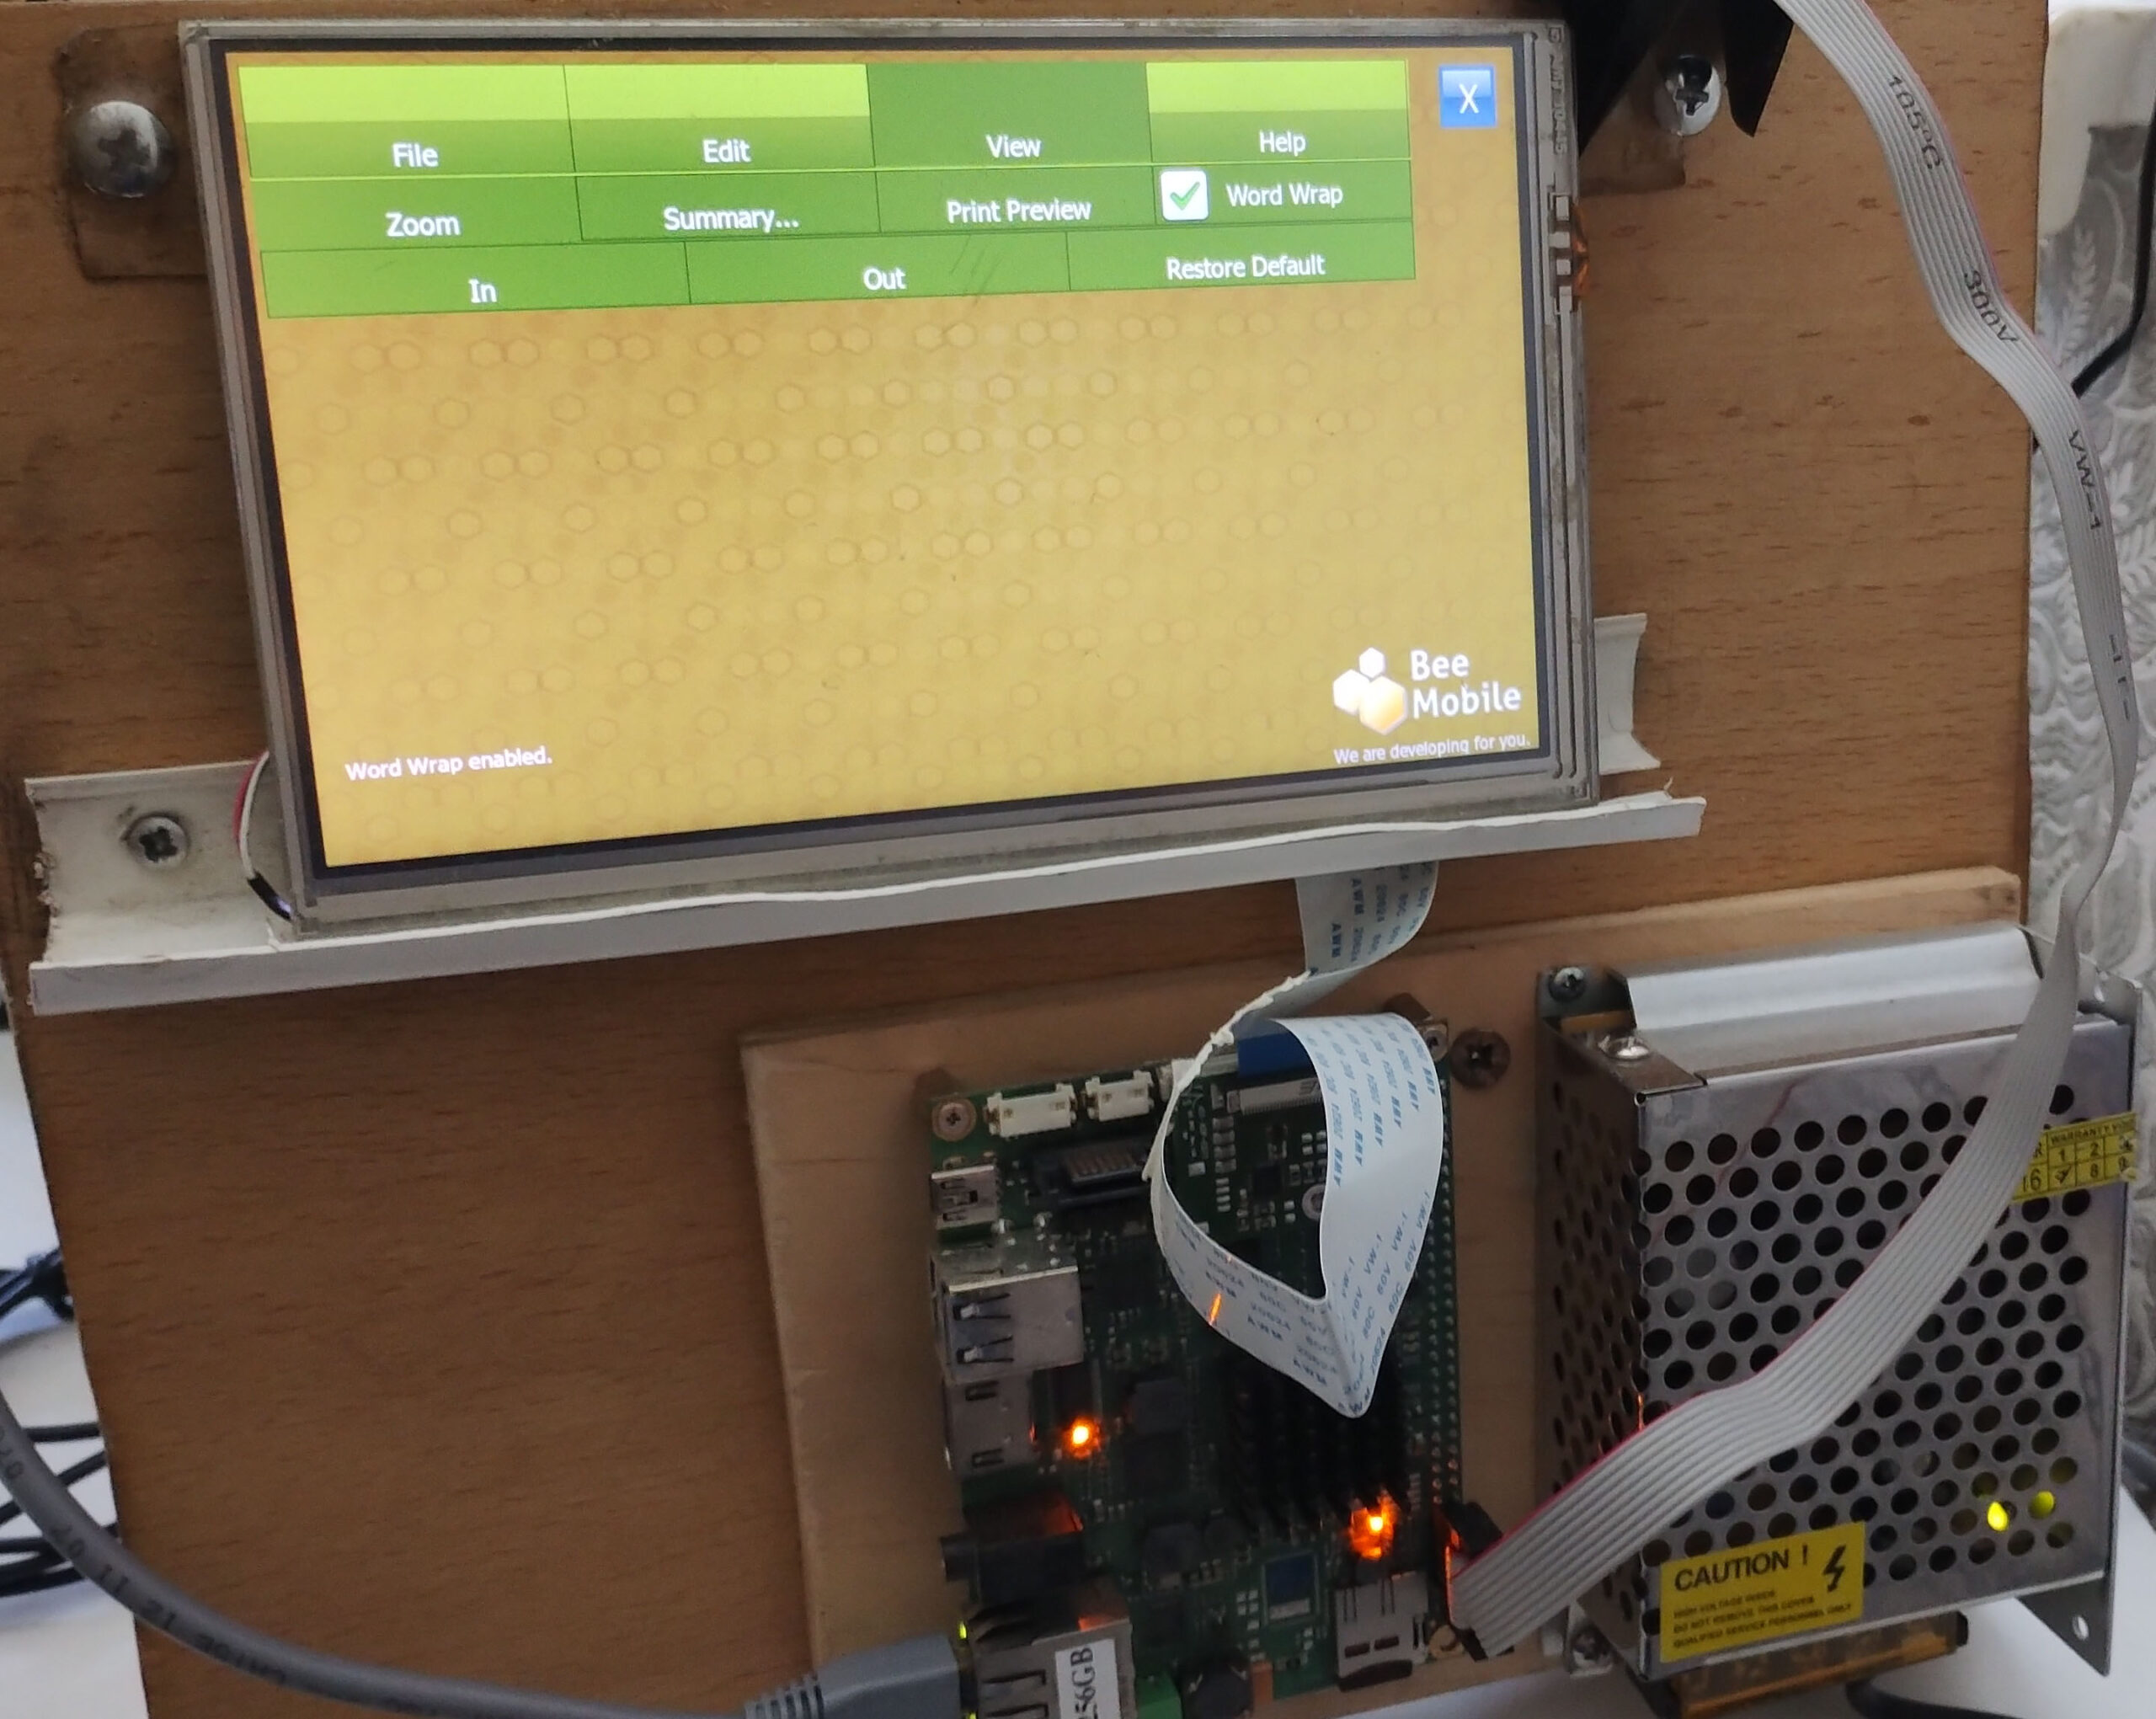
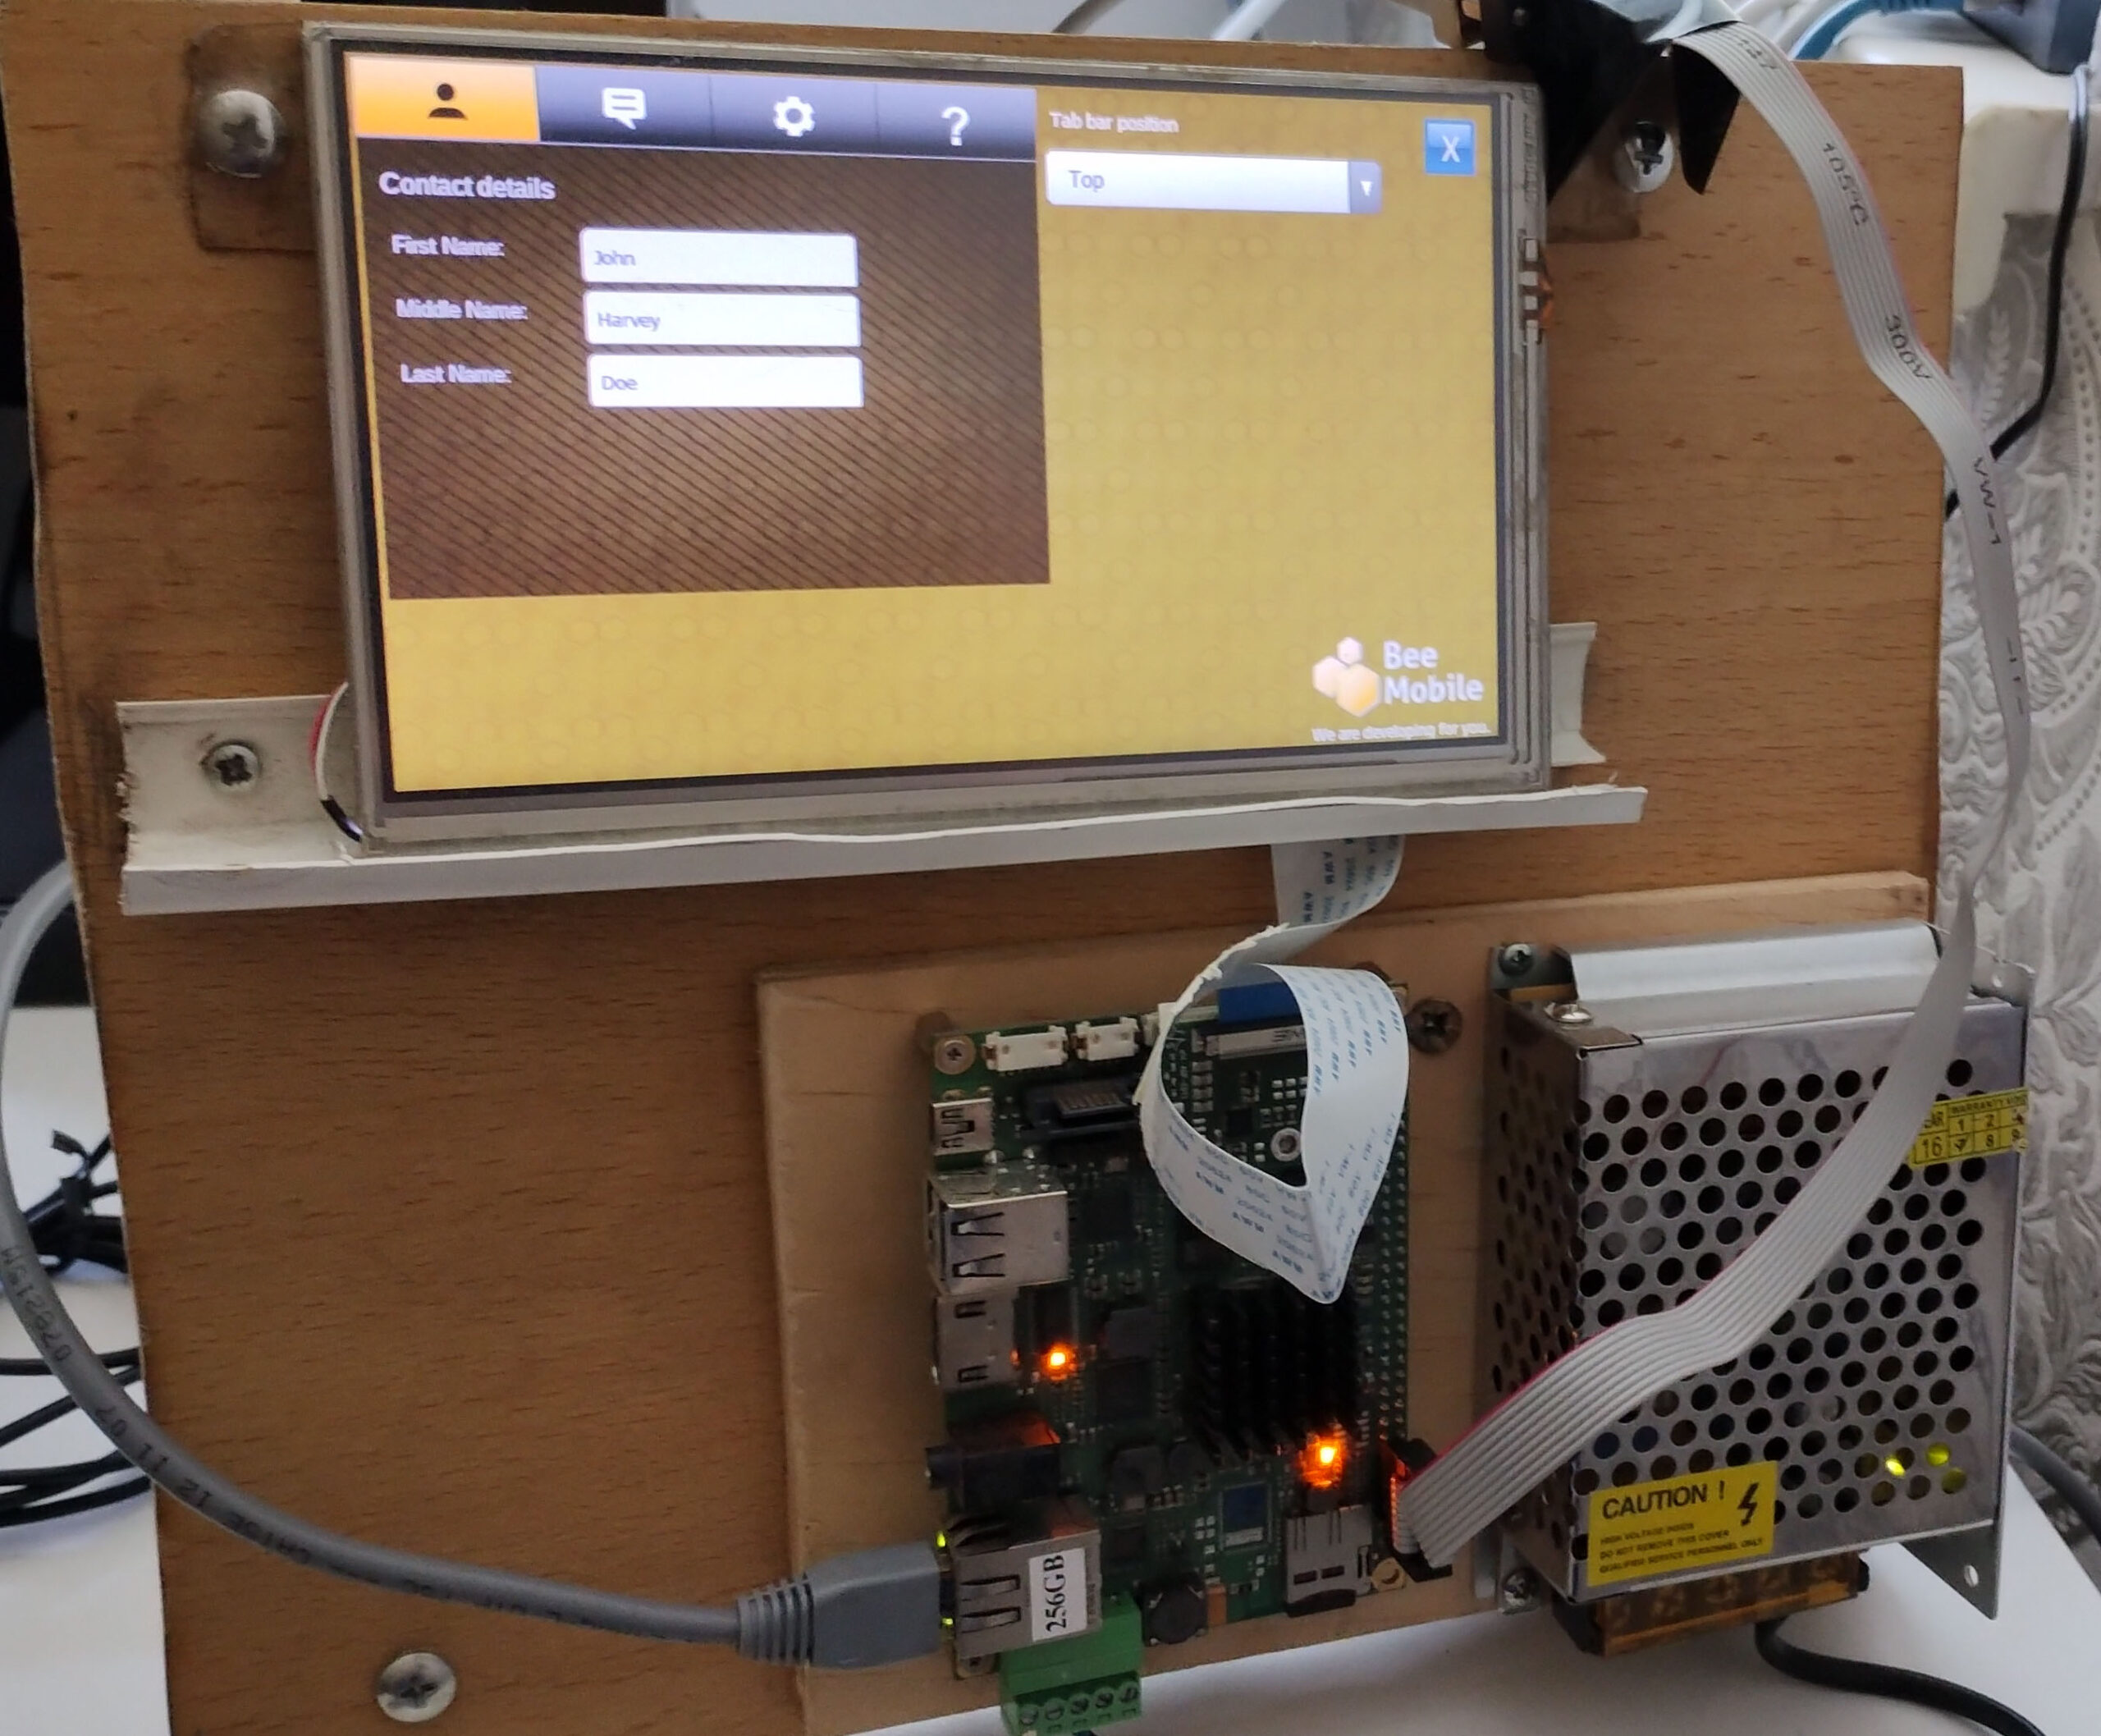
Some real world photographs of the result follow.