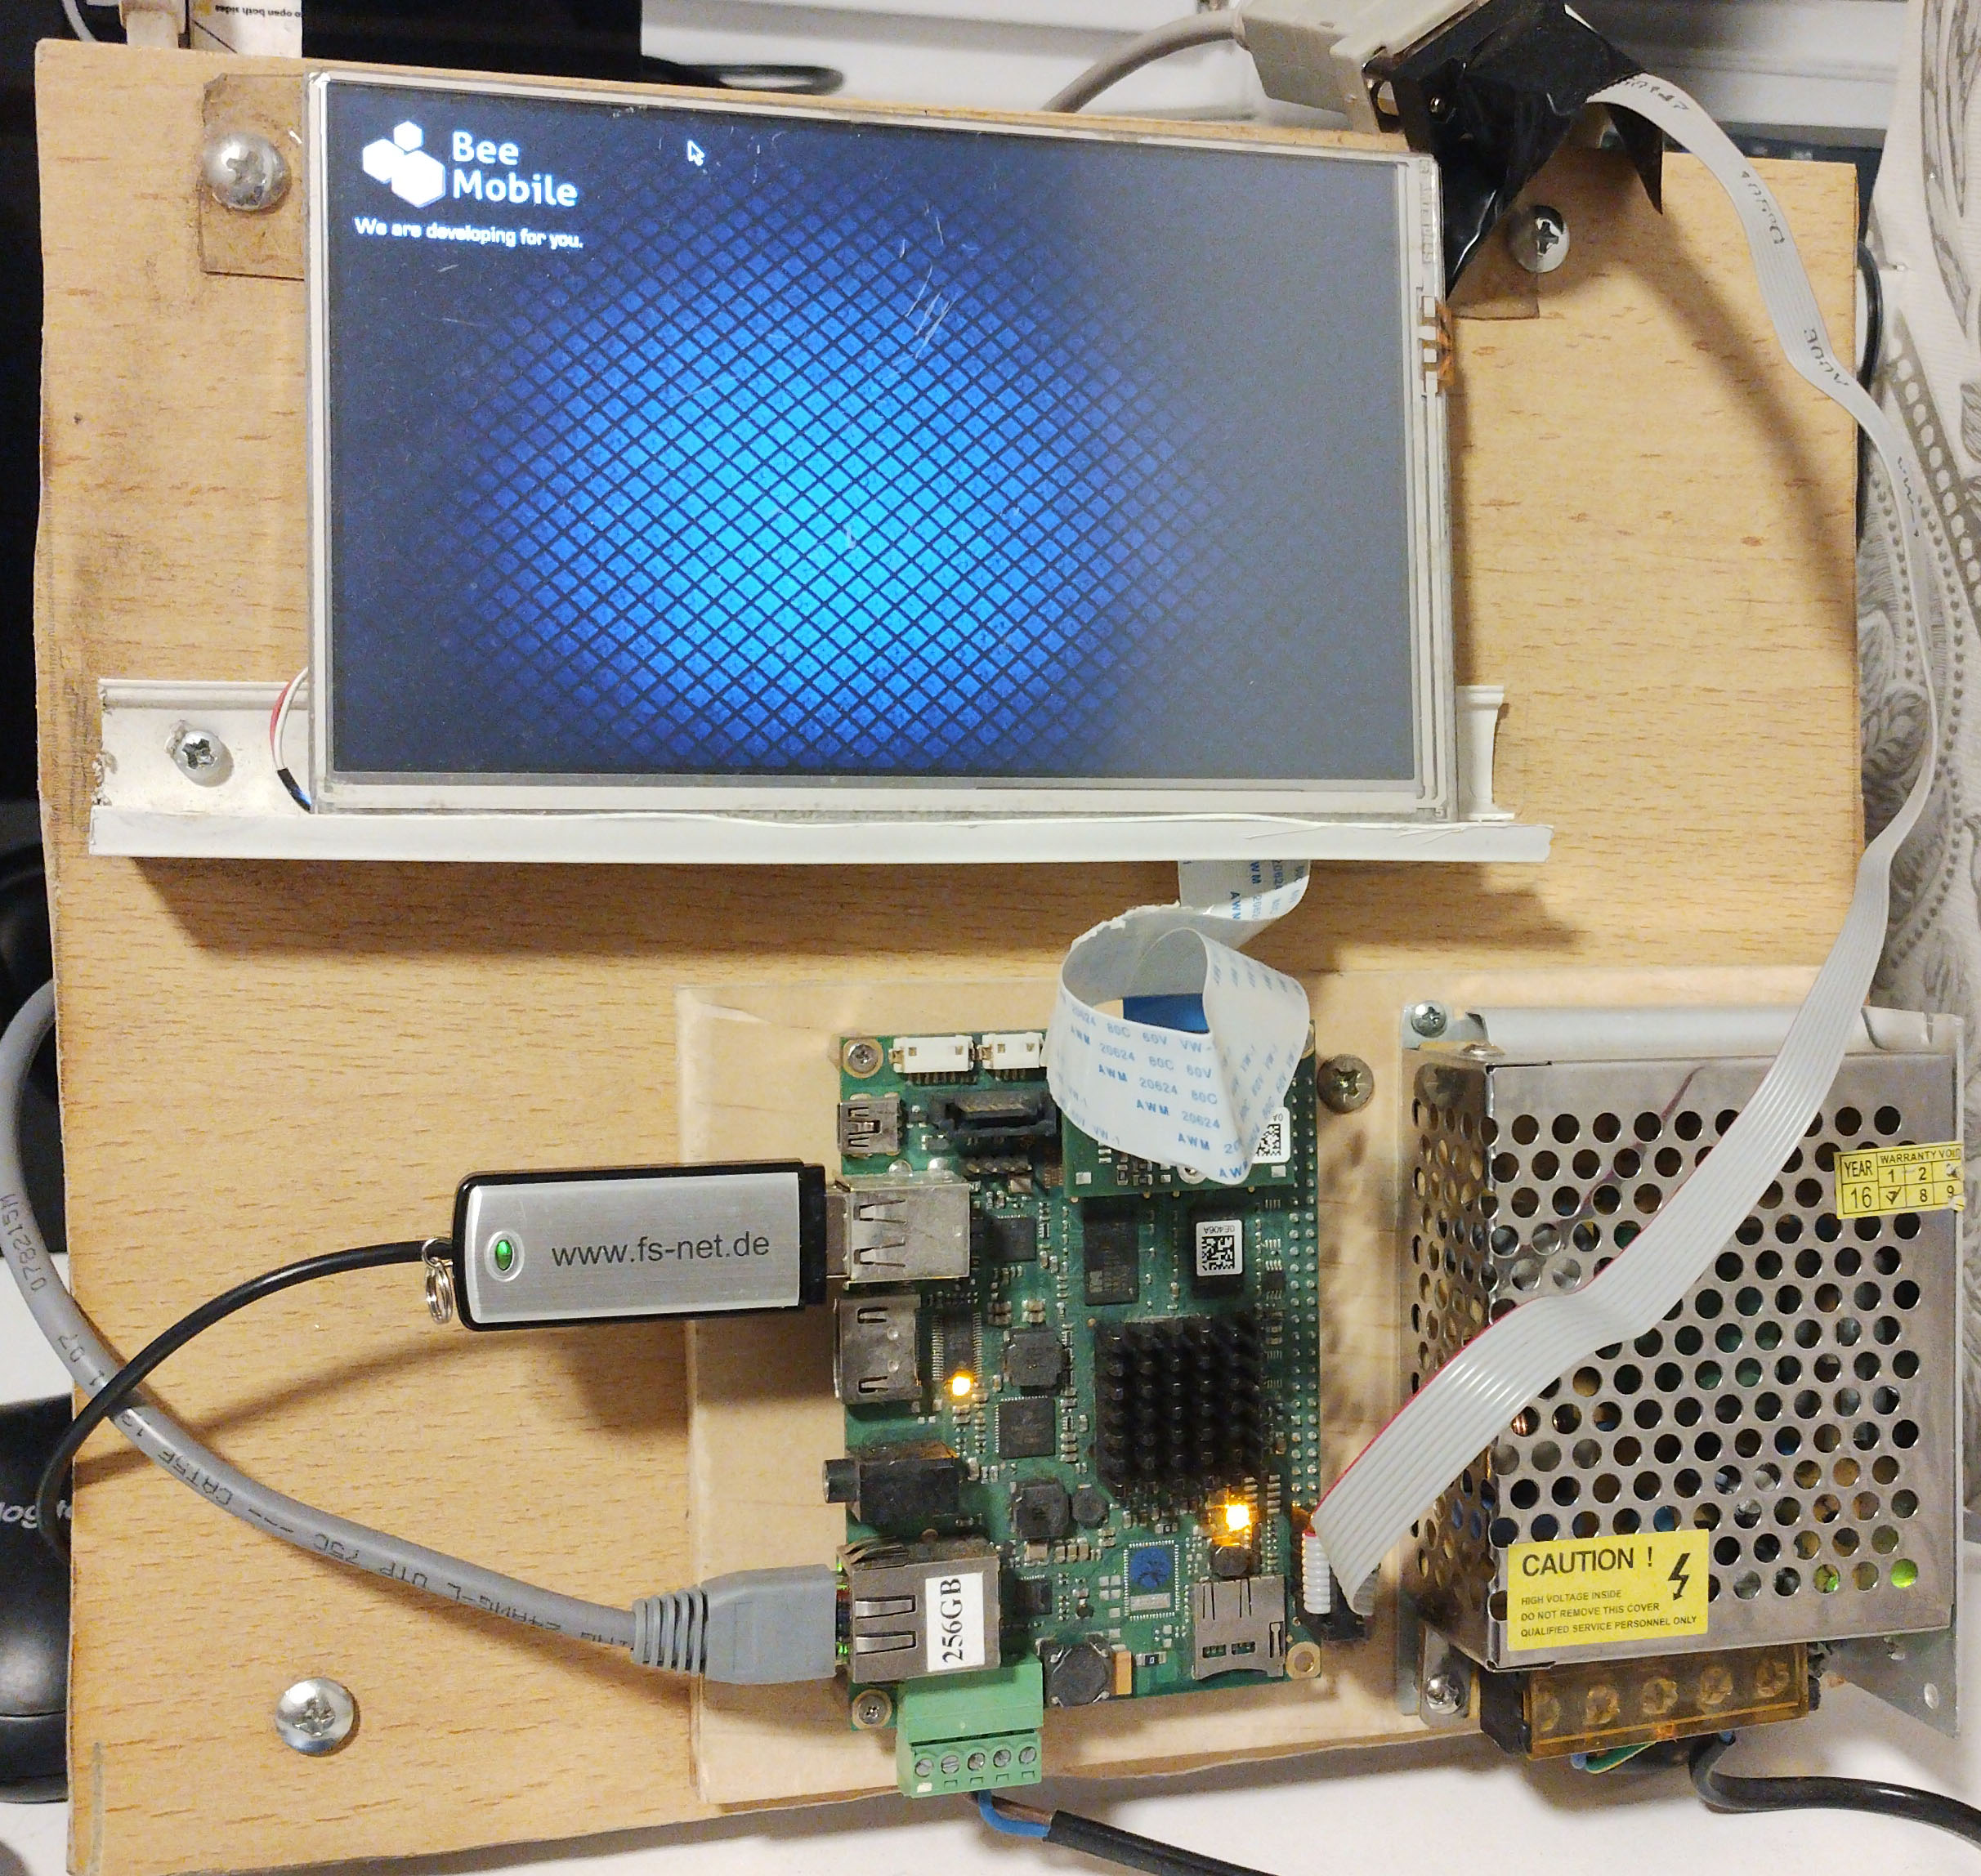
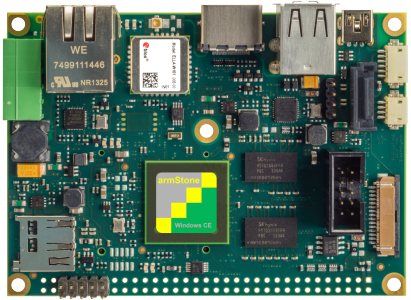
F&S Board Preparation: armStone A9
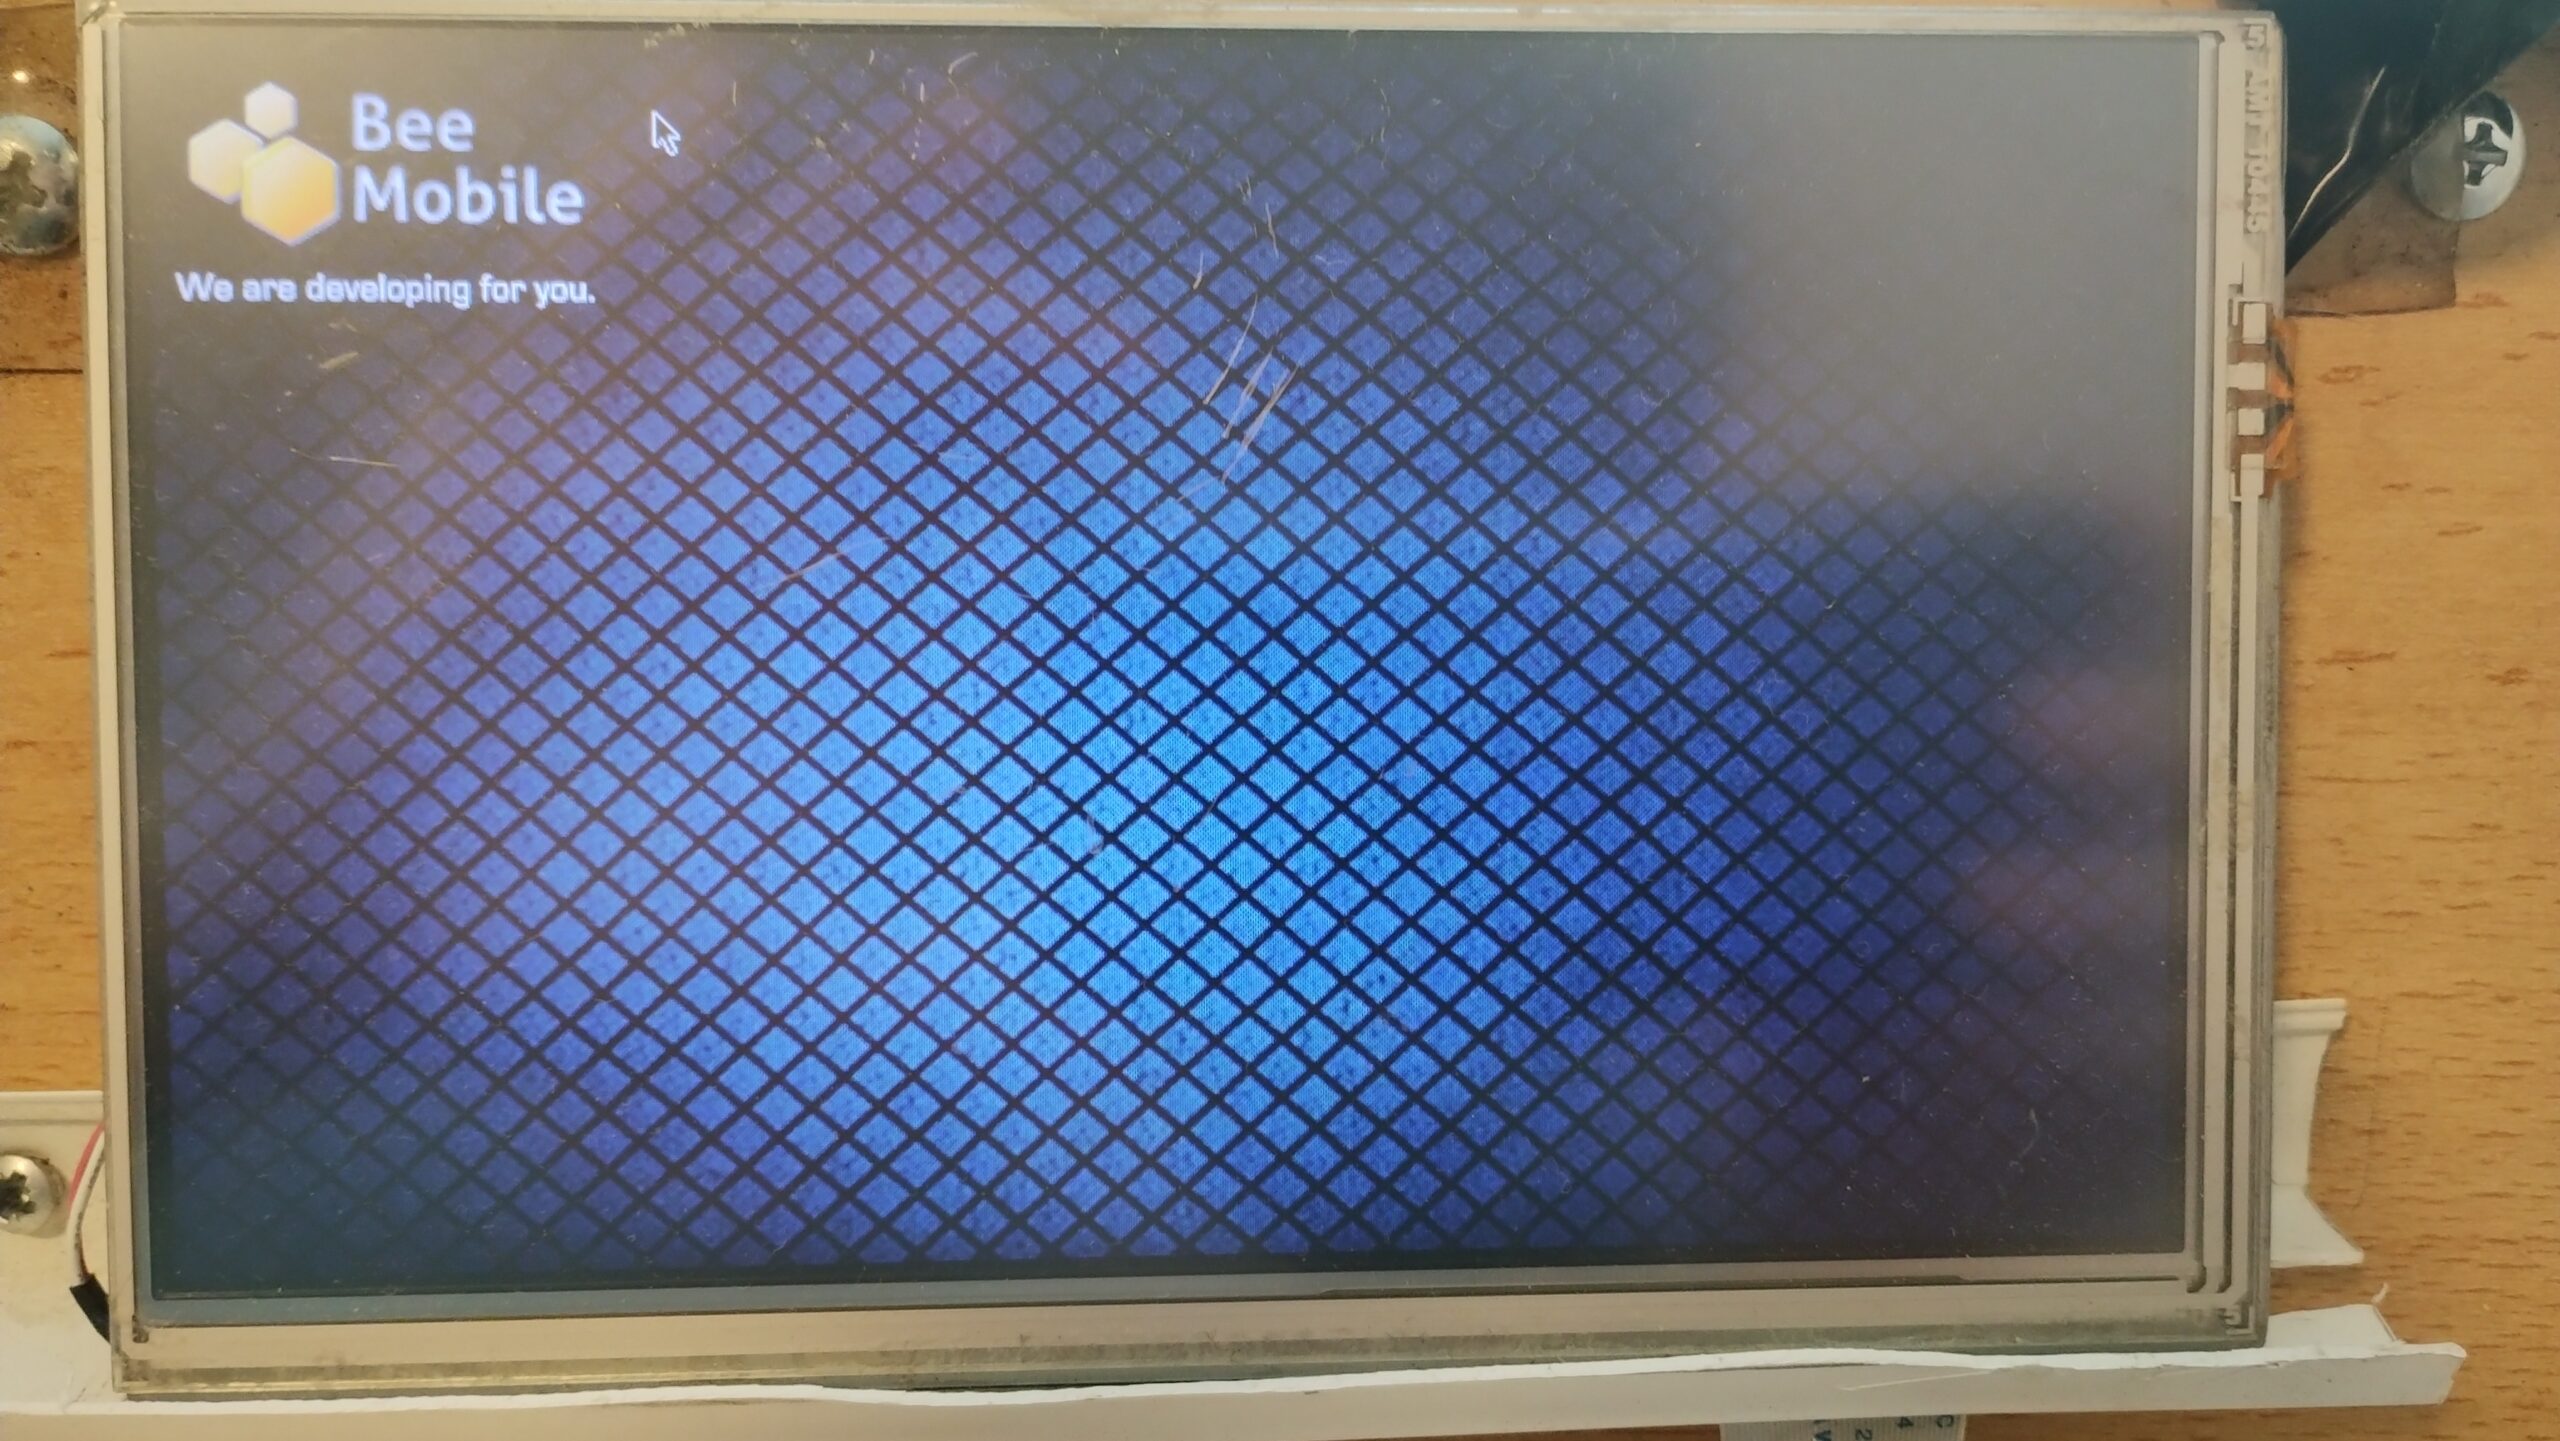
Display Unit
A compatible display panel used to interact with the board during development, boot verification, and application testing.
Required
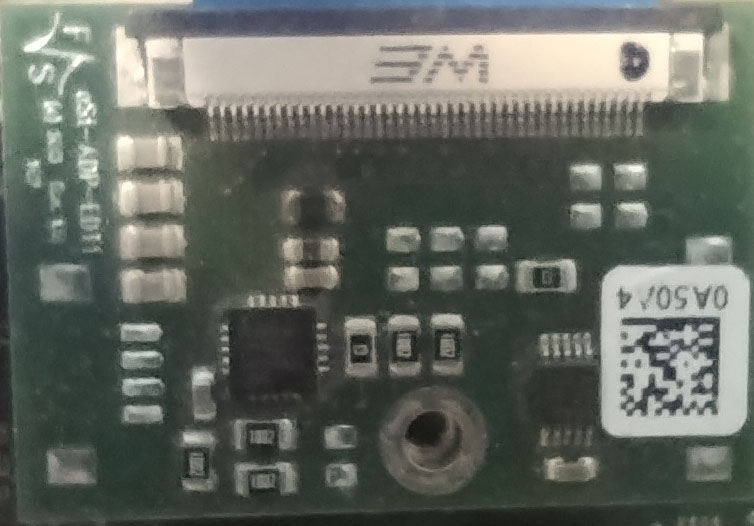
Display Cable & Adapter
Required to connect the selected display unit to the armStone A9 board. Confirm compatibility with F&S for your exact setup.
Required
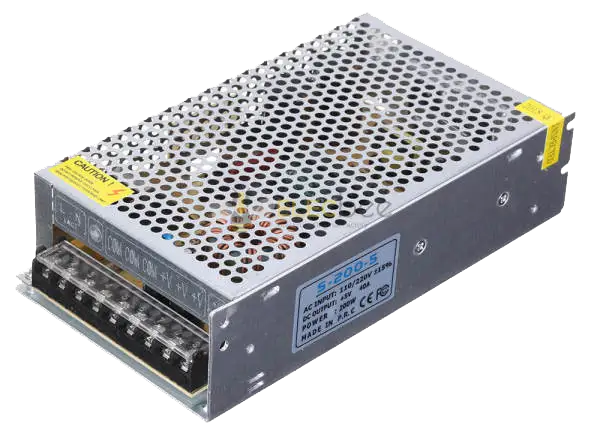
Power Supply
A suitable power source for the board. Use the specification recommended by F&S to avoid unstable behavior during development.
Required
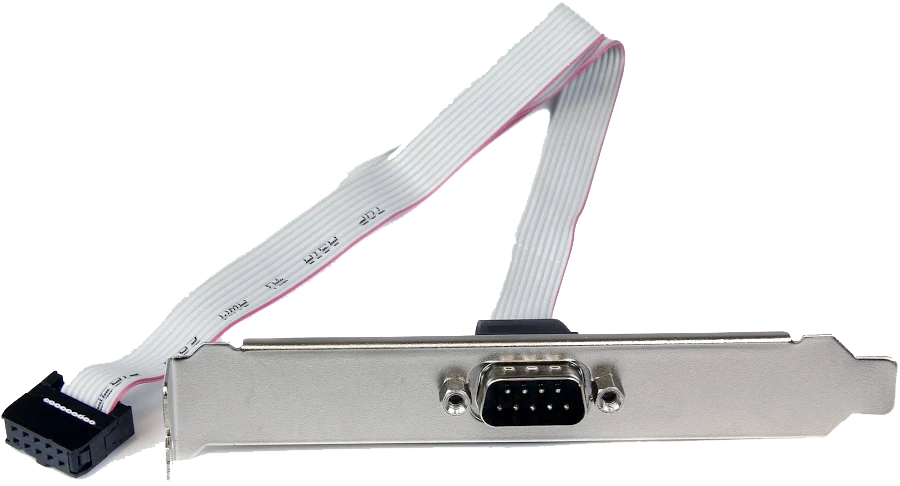
COM / Serial Cable
Needed for serial console access, debugging, and monitoring boot output during board bring-up and operating system deployment.
Required
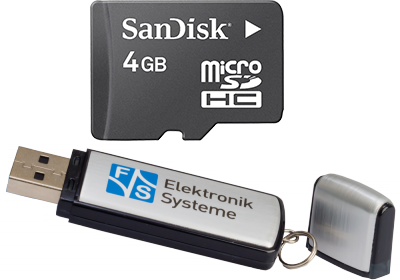
Micro SD Card or USB Storage
Used for image storage, boot media, or file transfer depending on the selected board setup and deployment workflow.
Required
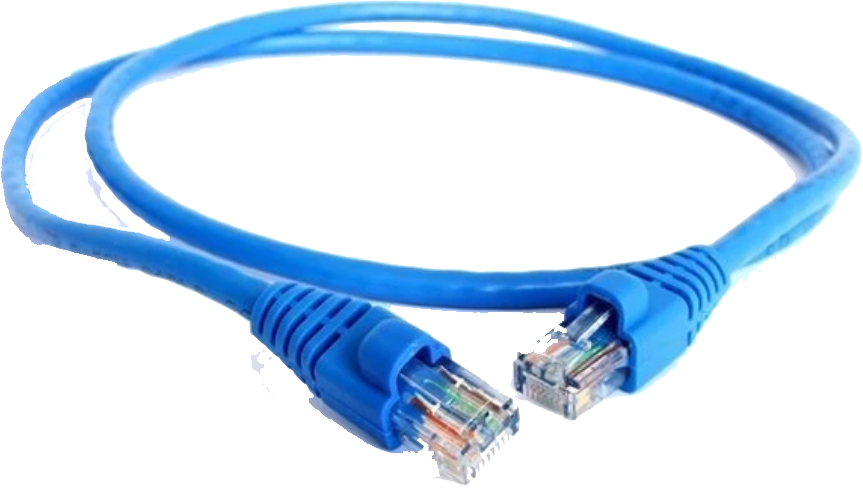
LAN Cable
Provides network connectivity for system setup, deployment, package access, remote communication, and testing.
Required
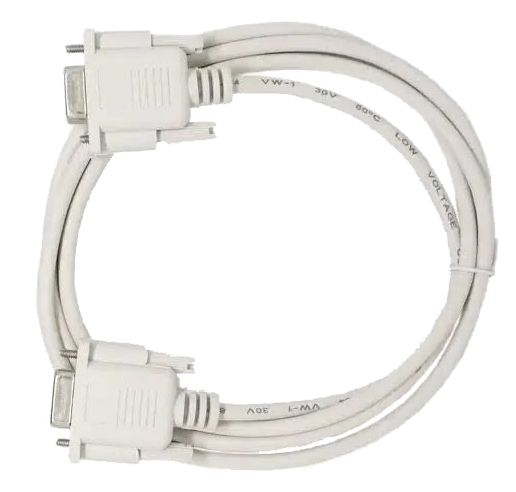
Serial Cable
Connects your armStone A9 board to your development computer over serial link interface.
Required
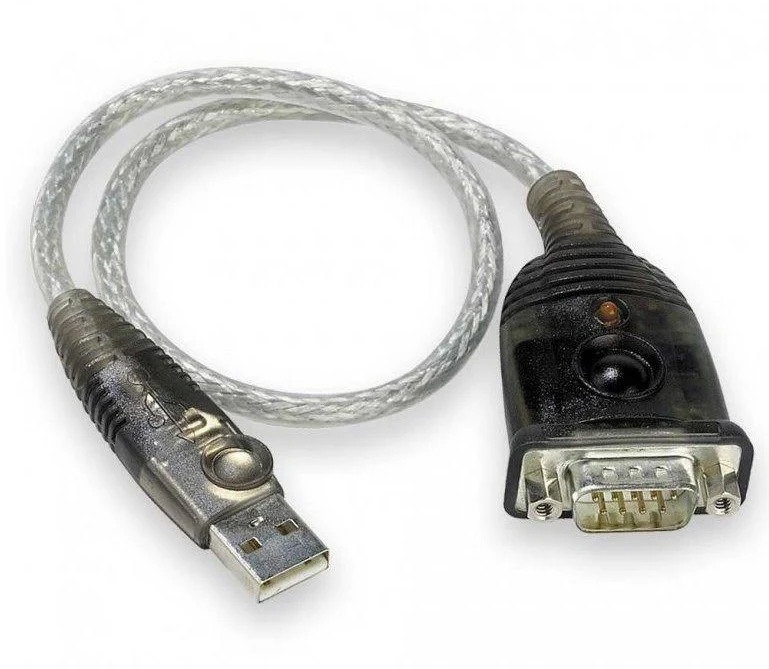
USB to serial adaptor
Most modern PCs are not equipped with serial interface. If that’s your case, you will need an adaptor.
Optional
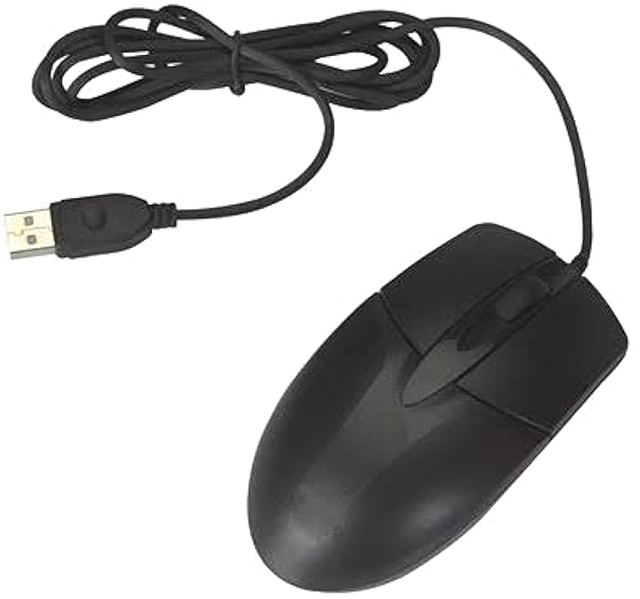
USB Mouse
Helpful for user-interface interaction and validation when the board is connected to a display.
Optional